
Kat's Everyday Sourdough
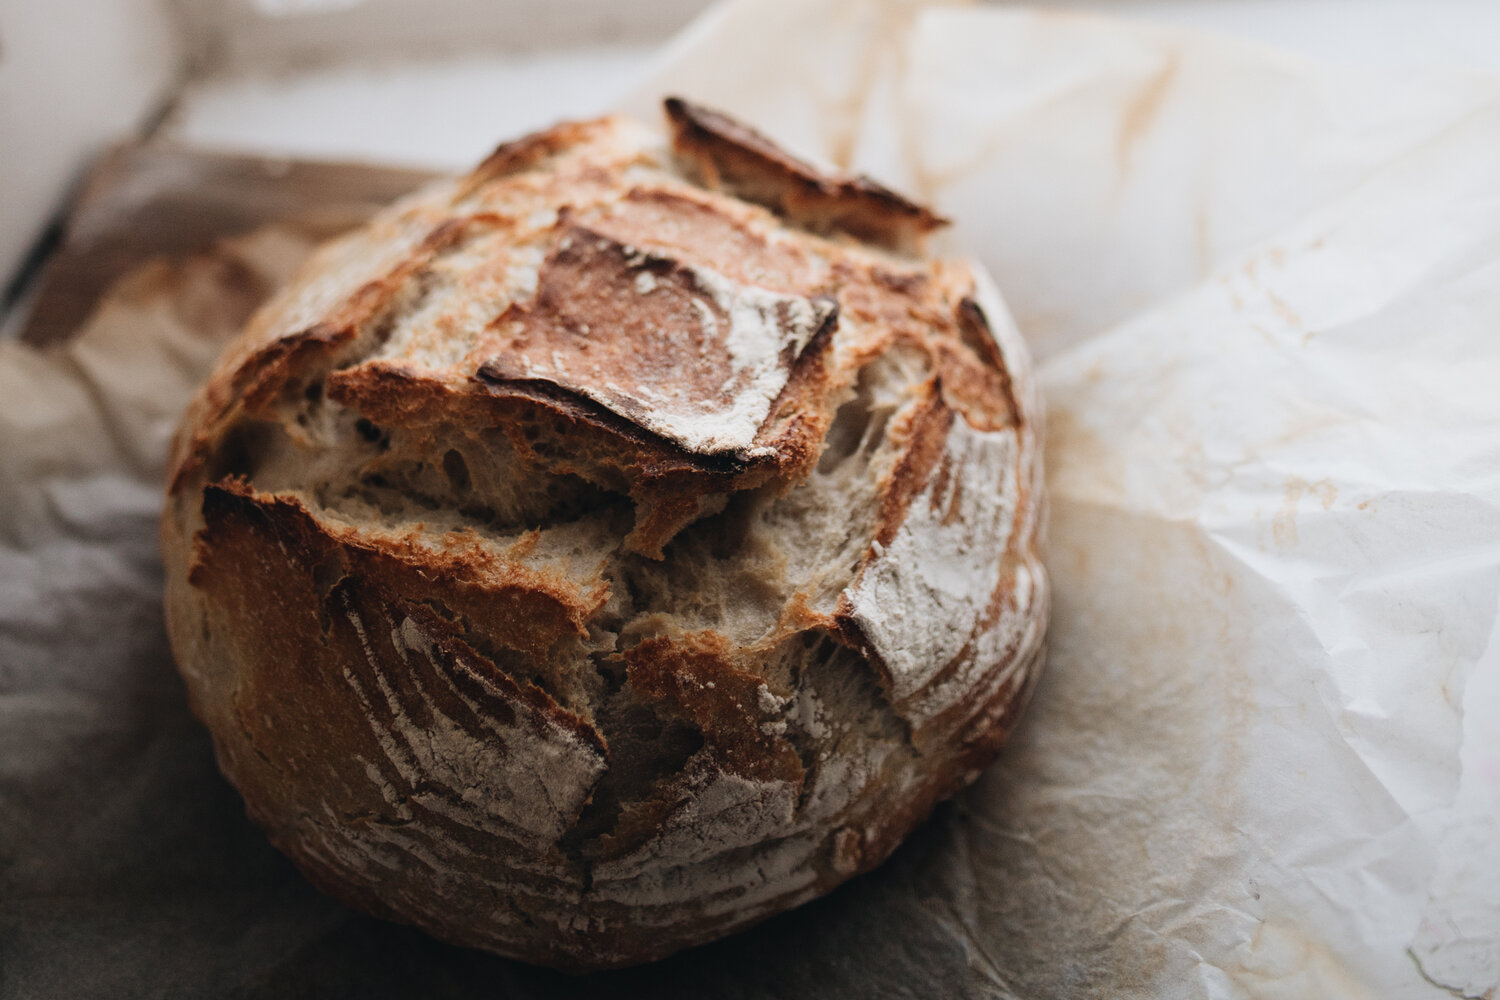
We bake sourdough bread most days. Be it as a morning breakfast/vehicle for melted butter or a staple in the summer time "stuff on bread" dinners we have at least twice a week, sourdough is embedded in our life.
We've tried a lot of methods and recipes, but with so many of them, there was a level of technicality that simply didn't fit into our busy family life. While technical aspects of hydration and starter peaks are important to know, we have come to the understanding that the best bread is the bread that fits easily into your every day life. This bread dough isn't very wet, which makes it ideal for a starter sourdough, as its a lot easier to handle.
I've written this recipe for people who make bread regularly - every day or every other day. If you are baking once a week, you may not get the rise you need from your starter, so feed it about 12 hours before you are due to make bread and see if that helps.
I start my bread as I am making dinner in the evening and it sits next to the aga for the first few hours before it goes in the fridge for over night. I then turn on the oven to bake when I go down in the morning for coffee.
Ingredients:
200g 100% hydration starter (This is a good method for starters here, or you can buy a kit here).
400g tepid water
650g strong bread flour
20g salt
Method:
1. In a large bowl, mix all the ingredients until the flour is completely incorporated.
2. Cover and let stand at room temperature for 3-4 hours, depending on the warmth of the room. Every so often (at least 3x), stretch and fold the dough to help with the gluten development.
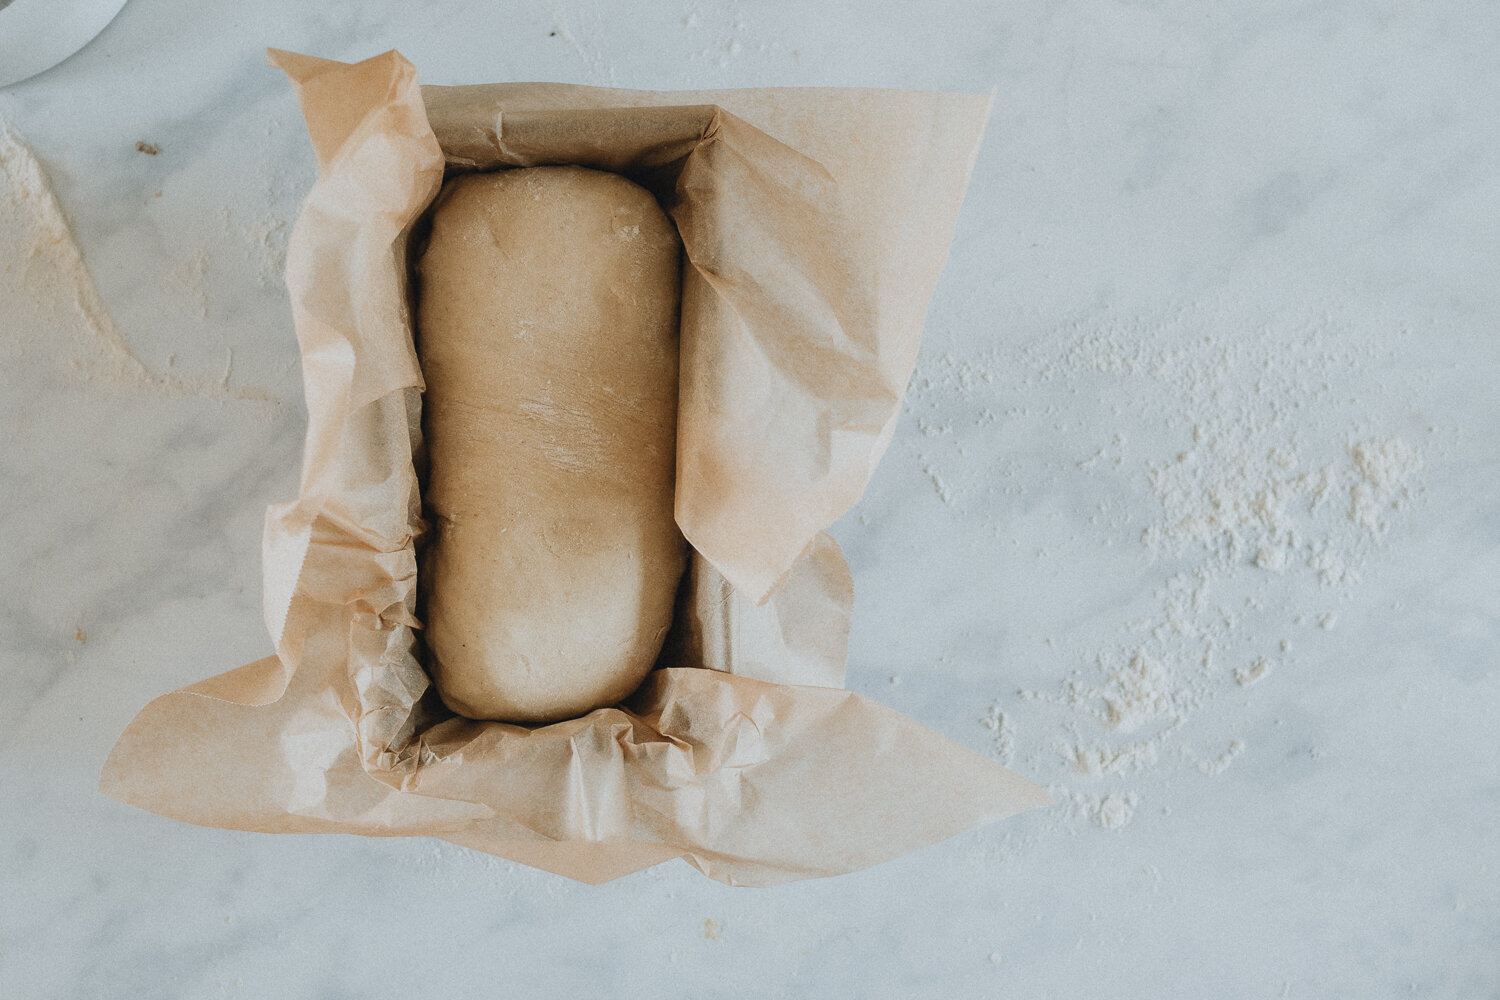
3. Tip dough out onto a floured surface and shape into a tight round. To get a nice surface tension, stretch the dough from the outside and bring it into the centre all the way around. This will be considered your seam.
4. Place seam side up in a banneton or bowl lined with a lightly floured towel. You can either leave for about an hour in a warm place and then bake or place in the refrigerator over night.
Baking:
1. Place your dutch oven in the oven and heat the oven to its highest temperature.
2. When the oven has reached temp, place your baking parchment on top of your banneton, then the baking tray on top of that and flip your bread out of the banneton onto the tray. There is no need to remove your bread from the refrigerator prior to this, in fact it is easier to work with a cold loaf.
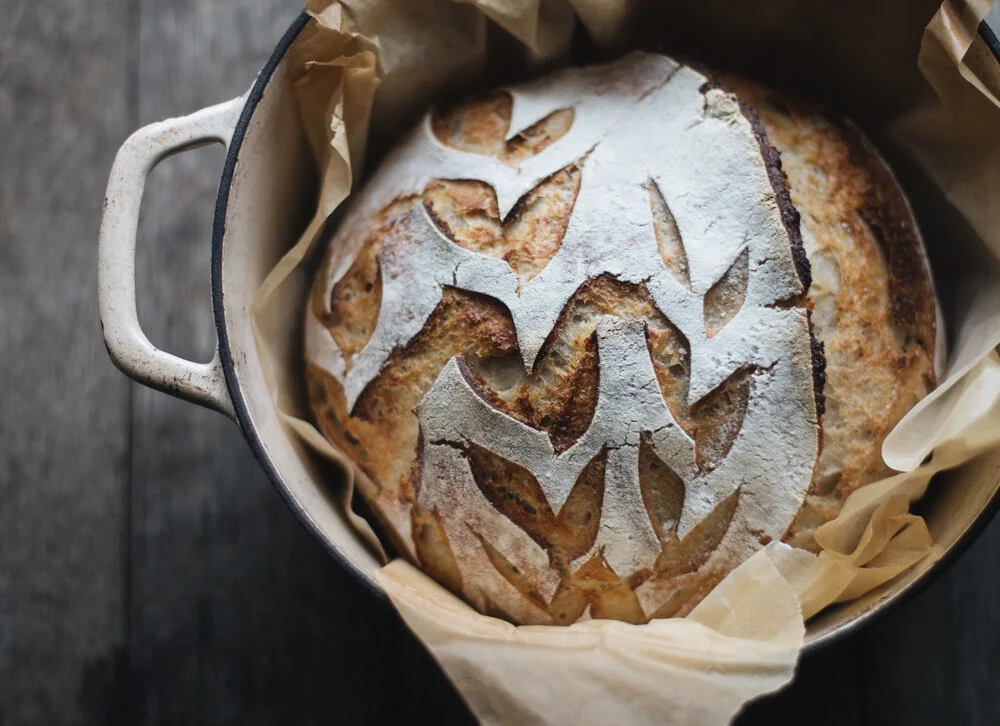
3. Score your bread using a knife or razor blade.
4. Slide the loaf into your hot dutch oven and put the lid on. Place it back in the oven and reduce the temperature to 220c/430F. Bake for 35 minutes with the lid on. Remove the loaf from the dutch oven and bake for another 12 minutes or until the crust is brown.
Variations:
– Replace 200g of the white flour with brown flour
– Add 2T of turmeric at Method stage 1. Then add about 2c of finely chopped leeks and onions on your final stretch and fold.
Kat's Everyday Sourdough

Ingredients
- 200g 100% hydration starter (This is a good method for starters here, or you can buy a kit here).
- 400g tepid water
- 650g strong bread flour
- 20g salt
Method
- In a large bowl, mix all the ingredients until the flour is completely incorporated.
- Cover and let stand at room temperature for 3-4 hours, depending on the warmth of the room. Every so often (at least 3x), stretch and fold the dough to help with the gluten development.
- Tip dough out onto a floured surface and shape into a tight round. To get a nice surface tension, stretch the dough from the outside and bring it into the centre all the way around. This will be considered your seam.
- Place seam side up in a banneton or bowl lined with a lightly floured towel. You can either leave for about an hour in a warm place and then bake or place in the refrigerator over night.
- Place your dutch oven in the oven and heat the oven to its highest temperature.
- When the oven has reached temp, place your baking parchment on top of your banneton, then the baking tray on top of that and flip your bread out of the banneton onto the tray. There is no need to remove your bread from the refrigerator prior to this, in fact it is easier to work with a cold loaf.
- Score your bread using a knife or razor blade.
- Slide the loaf into your hot dutch oven and put the lid on. Place it back in the oven and reduce the temperature to 220c/430F. Bake for 35 minutes with the lid on. Remove the loaf from the dutch oven and bake for another 12 minutes or until the crust is brown.
- Replace 200g of the white flour with brown flour
- Add 2 tablespoons of turmeric at Method stage 1. Then add about 2c of finely chopped leeks and onions on your final stretch and fold.
Want to know more about Sourdough baking? We have online courses -
