
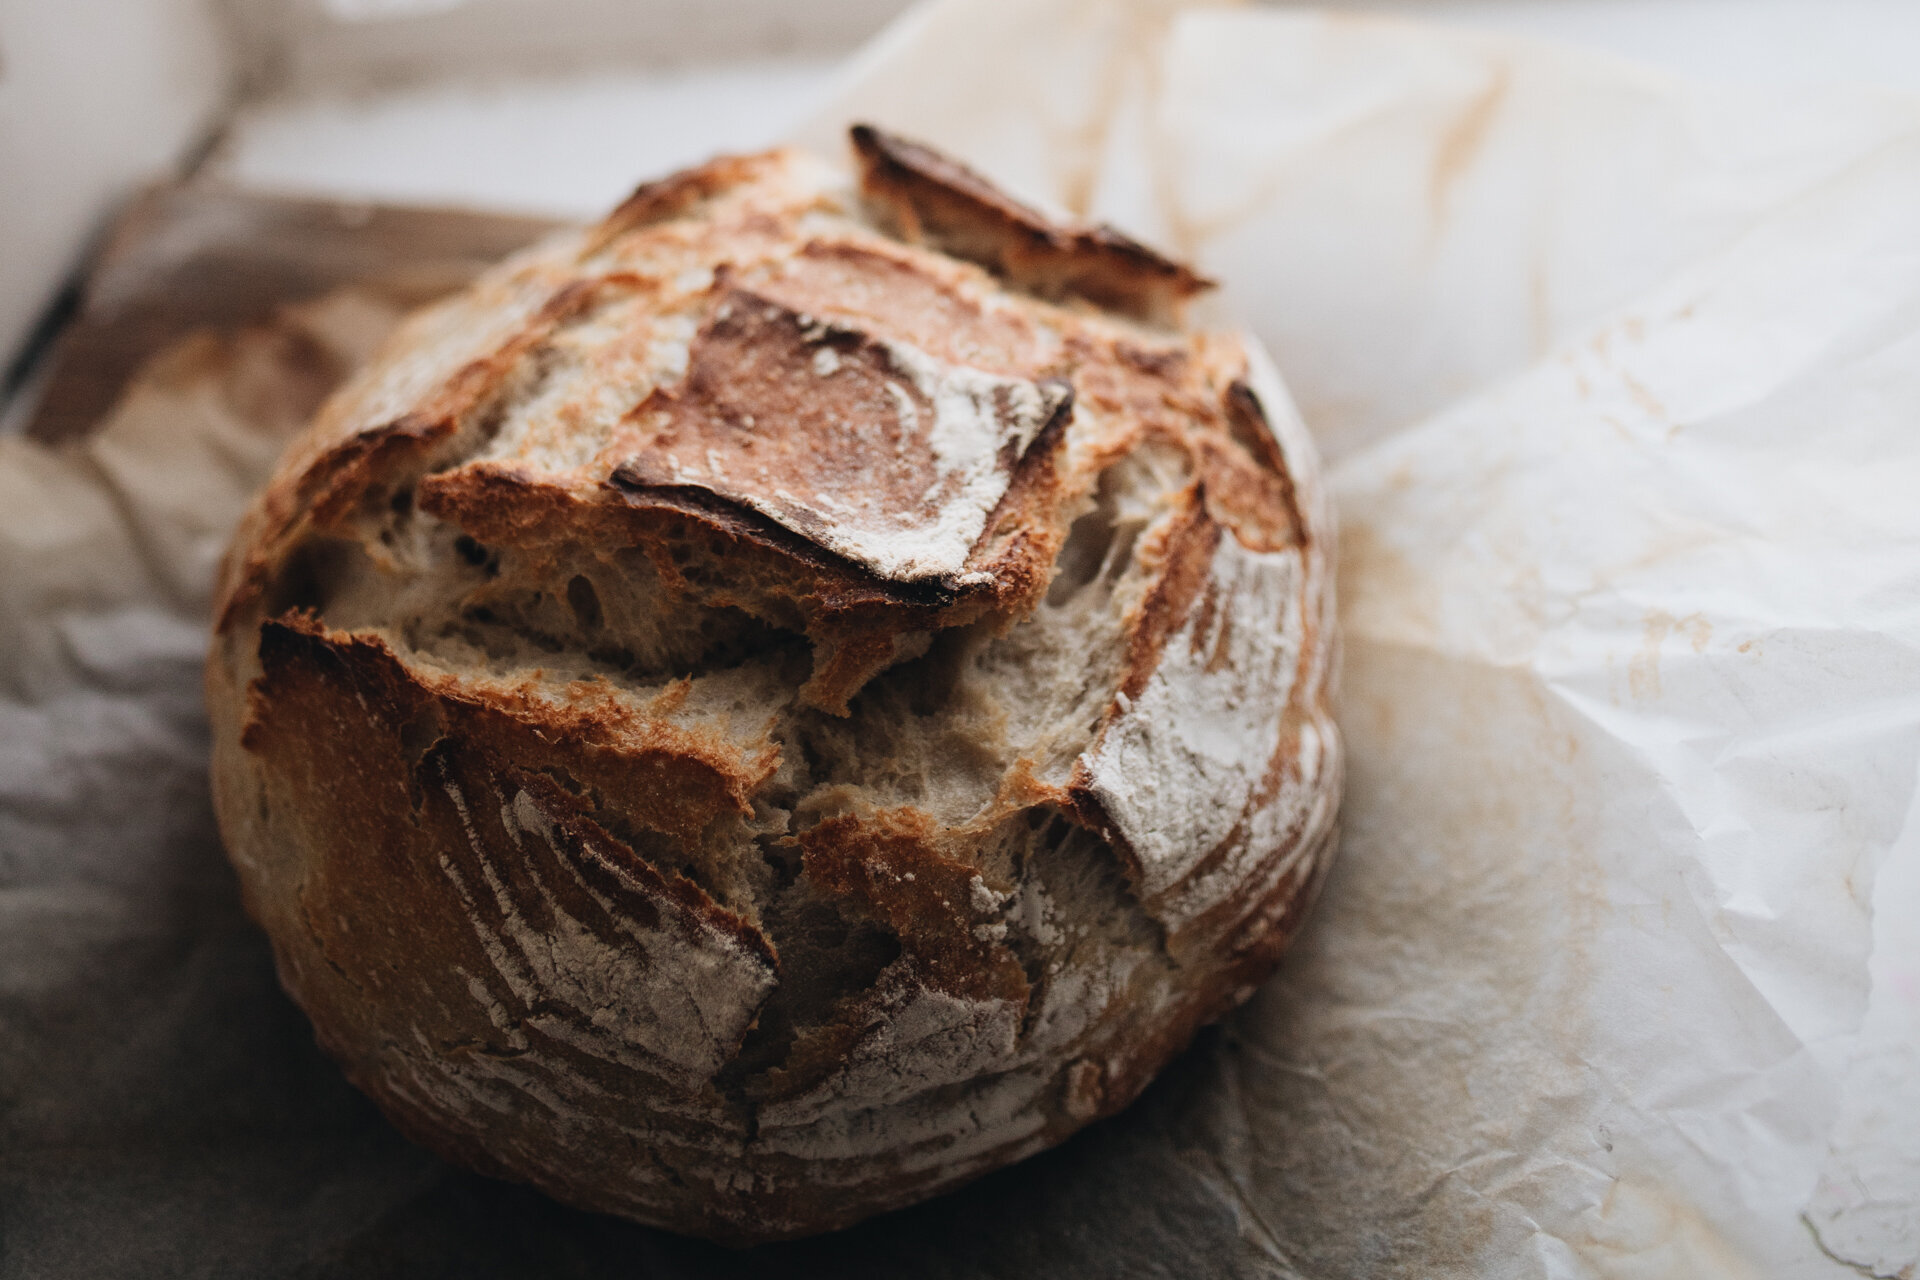
No Knead Overnight Sourdough Bread
One of the things we are always trying to do is make the things we make easier. I mean, what good is making everything from scratch if it becomes a massive pain in the backside meaning you never want to actually make it?!?!?
For the last year or so, I have been trying to perfect a no knead (or more accurately, no stretch and fold) version of our sourdough bread. We have made no knead bread a number of times, but not necessarily intentionally. We’ve just forgotten bread on the side and its been ok the next morning. Except it wasn’t always reliably so. Sometimes it would overproof and be a sloppy mess in the morning or it wouldn’t develop enough to hold its shape.
After relentless testing (helped along with copious amounts of butter and cheese) I feel like we have finally got a workable technique. I use the term “technique” intentionally here because I think you will need to adjust it for your life and climate. The recipe is actually pretty much the same as my normal everyday sourdough recipe, just with a shade more flour. The difference here is that for a great loaf, you need to be a bit more mindful of the starter being nice and active and recently fed. That is going to help the structure of the bread that you lose by not stretching and folding. I have been leaving it out on the counter, but I bet you could make it one evening and stick it in the fridge and shape and bake it the next for excellent results.

No Knead Overnight Sourdough Bread

Ingredients
- 200g active 100% hydration starter
- 400g water
- 700g strong flour
- 19g salt
Method
- Mix all the ingredients together. Make sure there are no lumps and everything is mixed through. If you have a stand mixer with a bread hook, this would be a good use for it.
- Once everything is mixed, cover and leave overnight. If you have a warm house, consider putting the dough in the fridge.
- In the morning, tip dough out onto a floured surface and shape into a tight round. To get a nice surface tension, stretch the dough from the outside and bring it into the centre all the way around. This will be considered your seam.
- Place seam side up in a banneton or bowl lined with a lightly floured towel. Let it rest in a floured banneton. If you feel that the bread is quite sticky, let the dough rest in the fridge
- Place your Dutch oven in the oven and heat the oven to its highest temperature.
- When the oven has reached temp, place your baking parchment on top of your banneton, then the baking tray on top of that and flip your bread out of the banneton onto the tray. There is no need to remove your bread from the refrigerator prior to this, in fact it is easier to work with a cold loaf.
- Score your bread using a knife or razor blade.
- Slide the loaf into your hot dutch oven and put the lid on. Place it back in the oven and reduce the temperature to 220c/430F. Bake for 35 minutes with the lid on. Remove the loaf from the dutch oven and bake for another 10 minutes or until the crust is brown.
Need a starter? Here’s the method we use. Or you can buy a starter or kit below -
