
Week 1: Casting On - Cable Method
Casting OnCable method
The cable method is preferred for stocking stitch patterns, where a firm and discrete edge is most appropriate. This method is also used where a firm yet elastic foundation is required. The technique is similar to, but easier than the knit stitch, so once you have mastered this technique, you will find the knit stitch relatively straightforward.
Start by creating a slip knot as shown in the post for the Thumb Method of casting on, following steps 1 - 5.
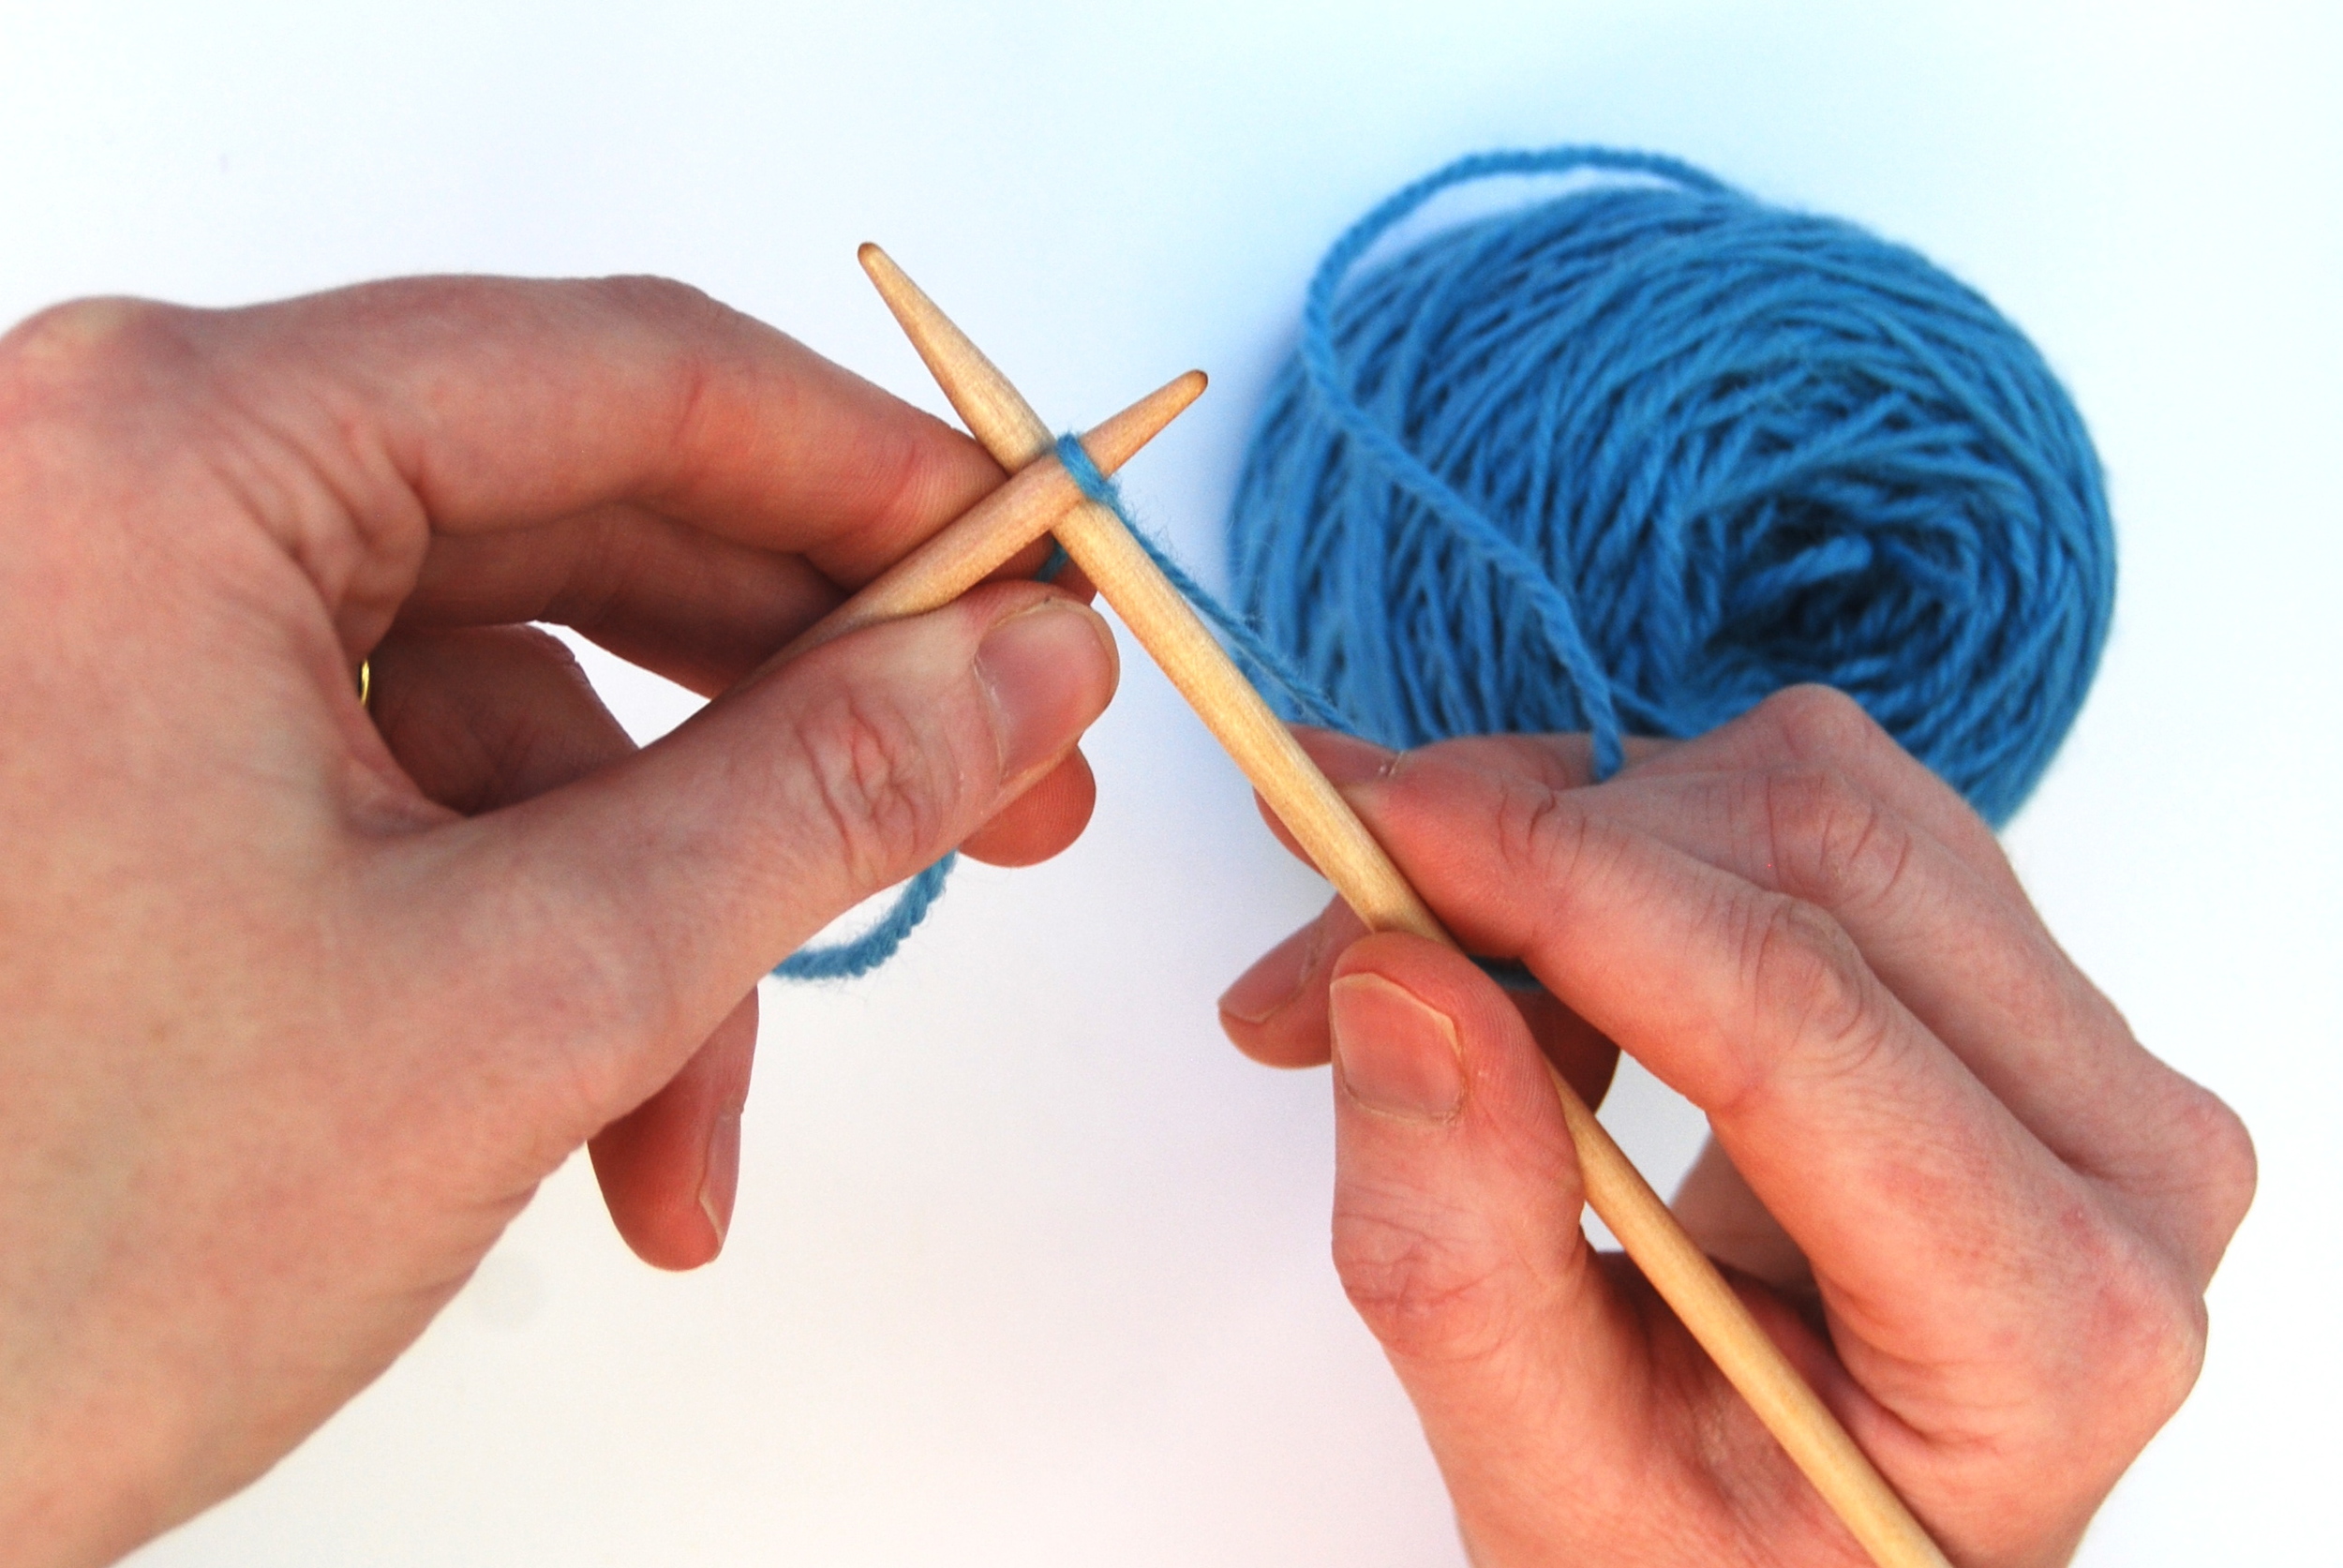
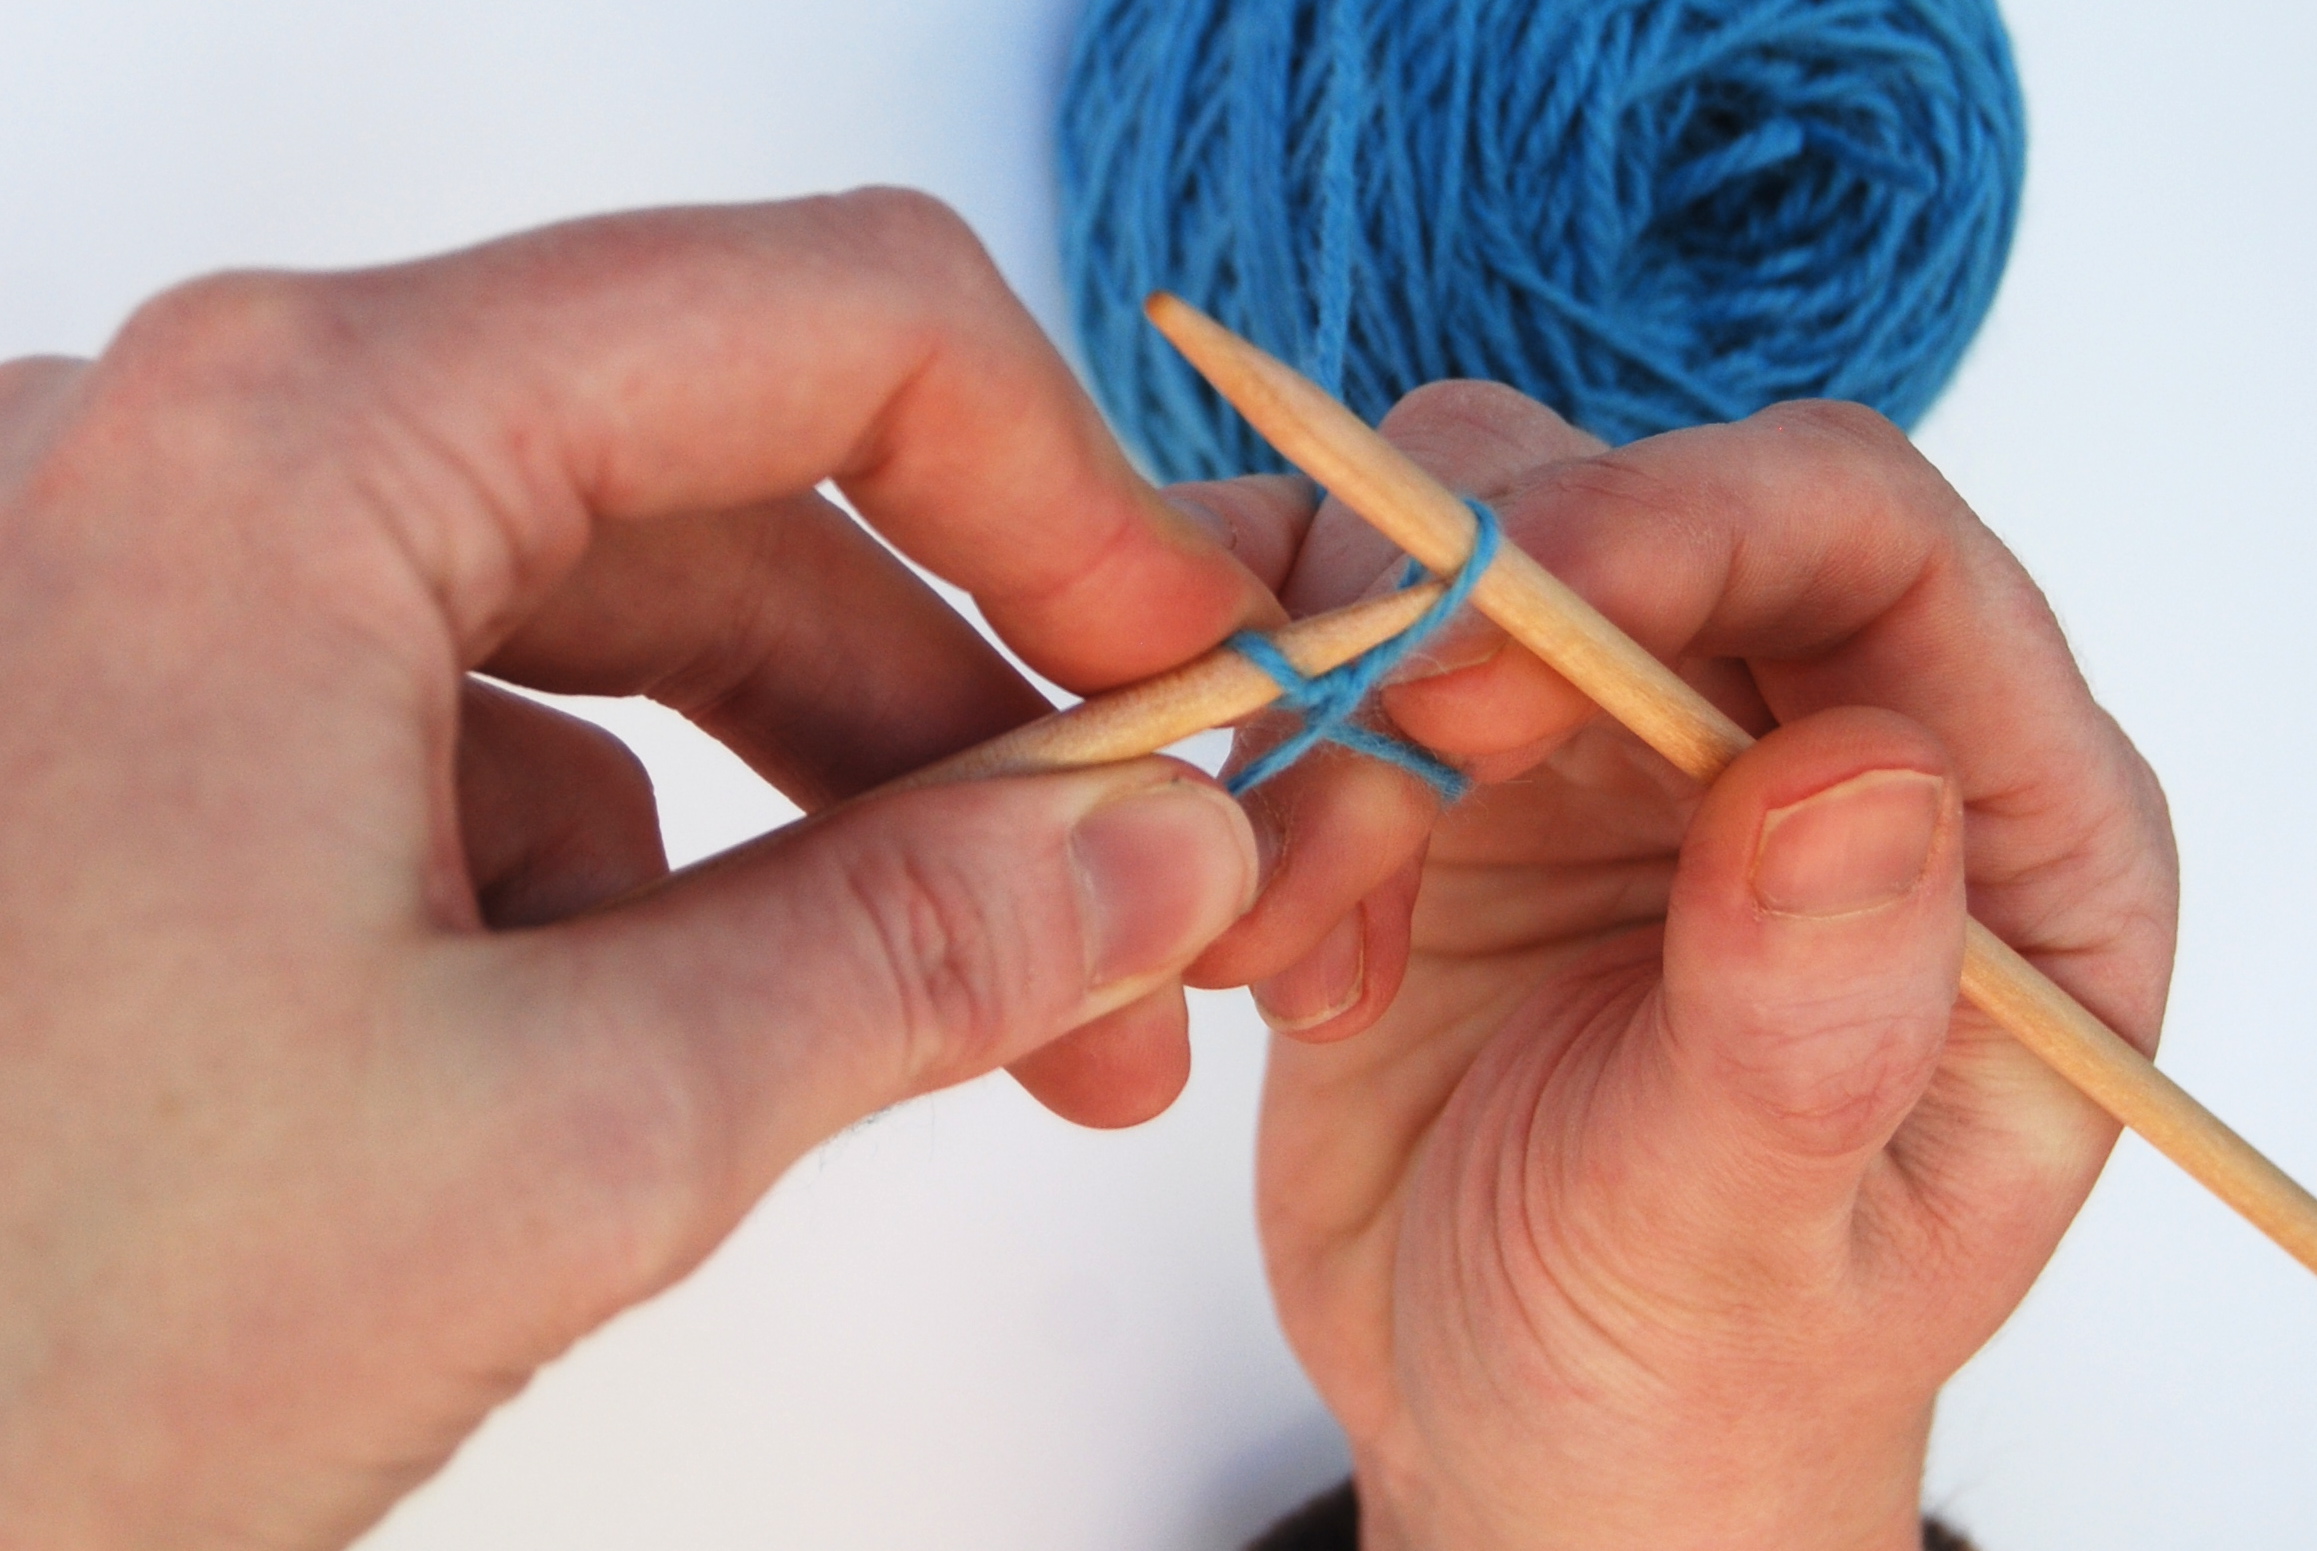
1. Insert your right hand (RH) needle behind the stitch, ensuring the long length of yarn attached to the ball is on the right hand side, and holding the short length of yarn firmly between your left thumb and index finger. This stops the stitch from moving while you work it.
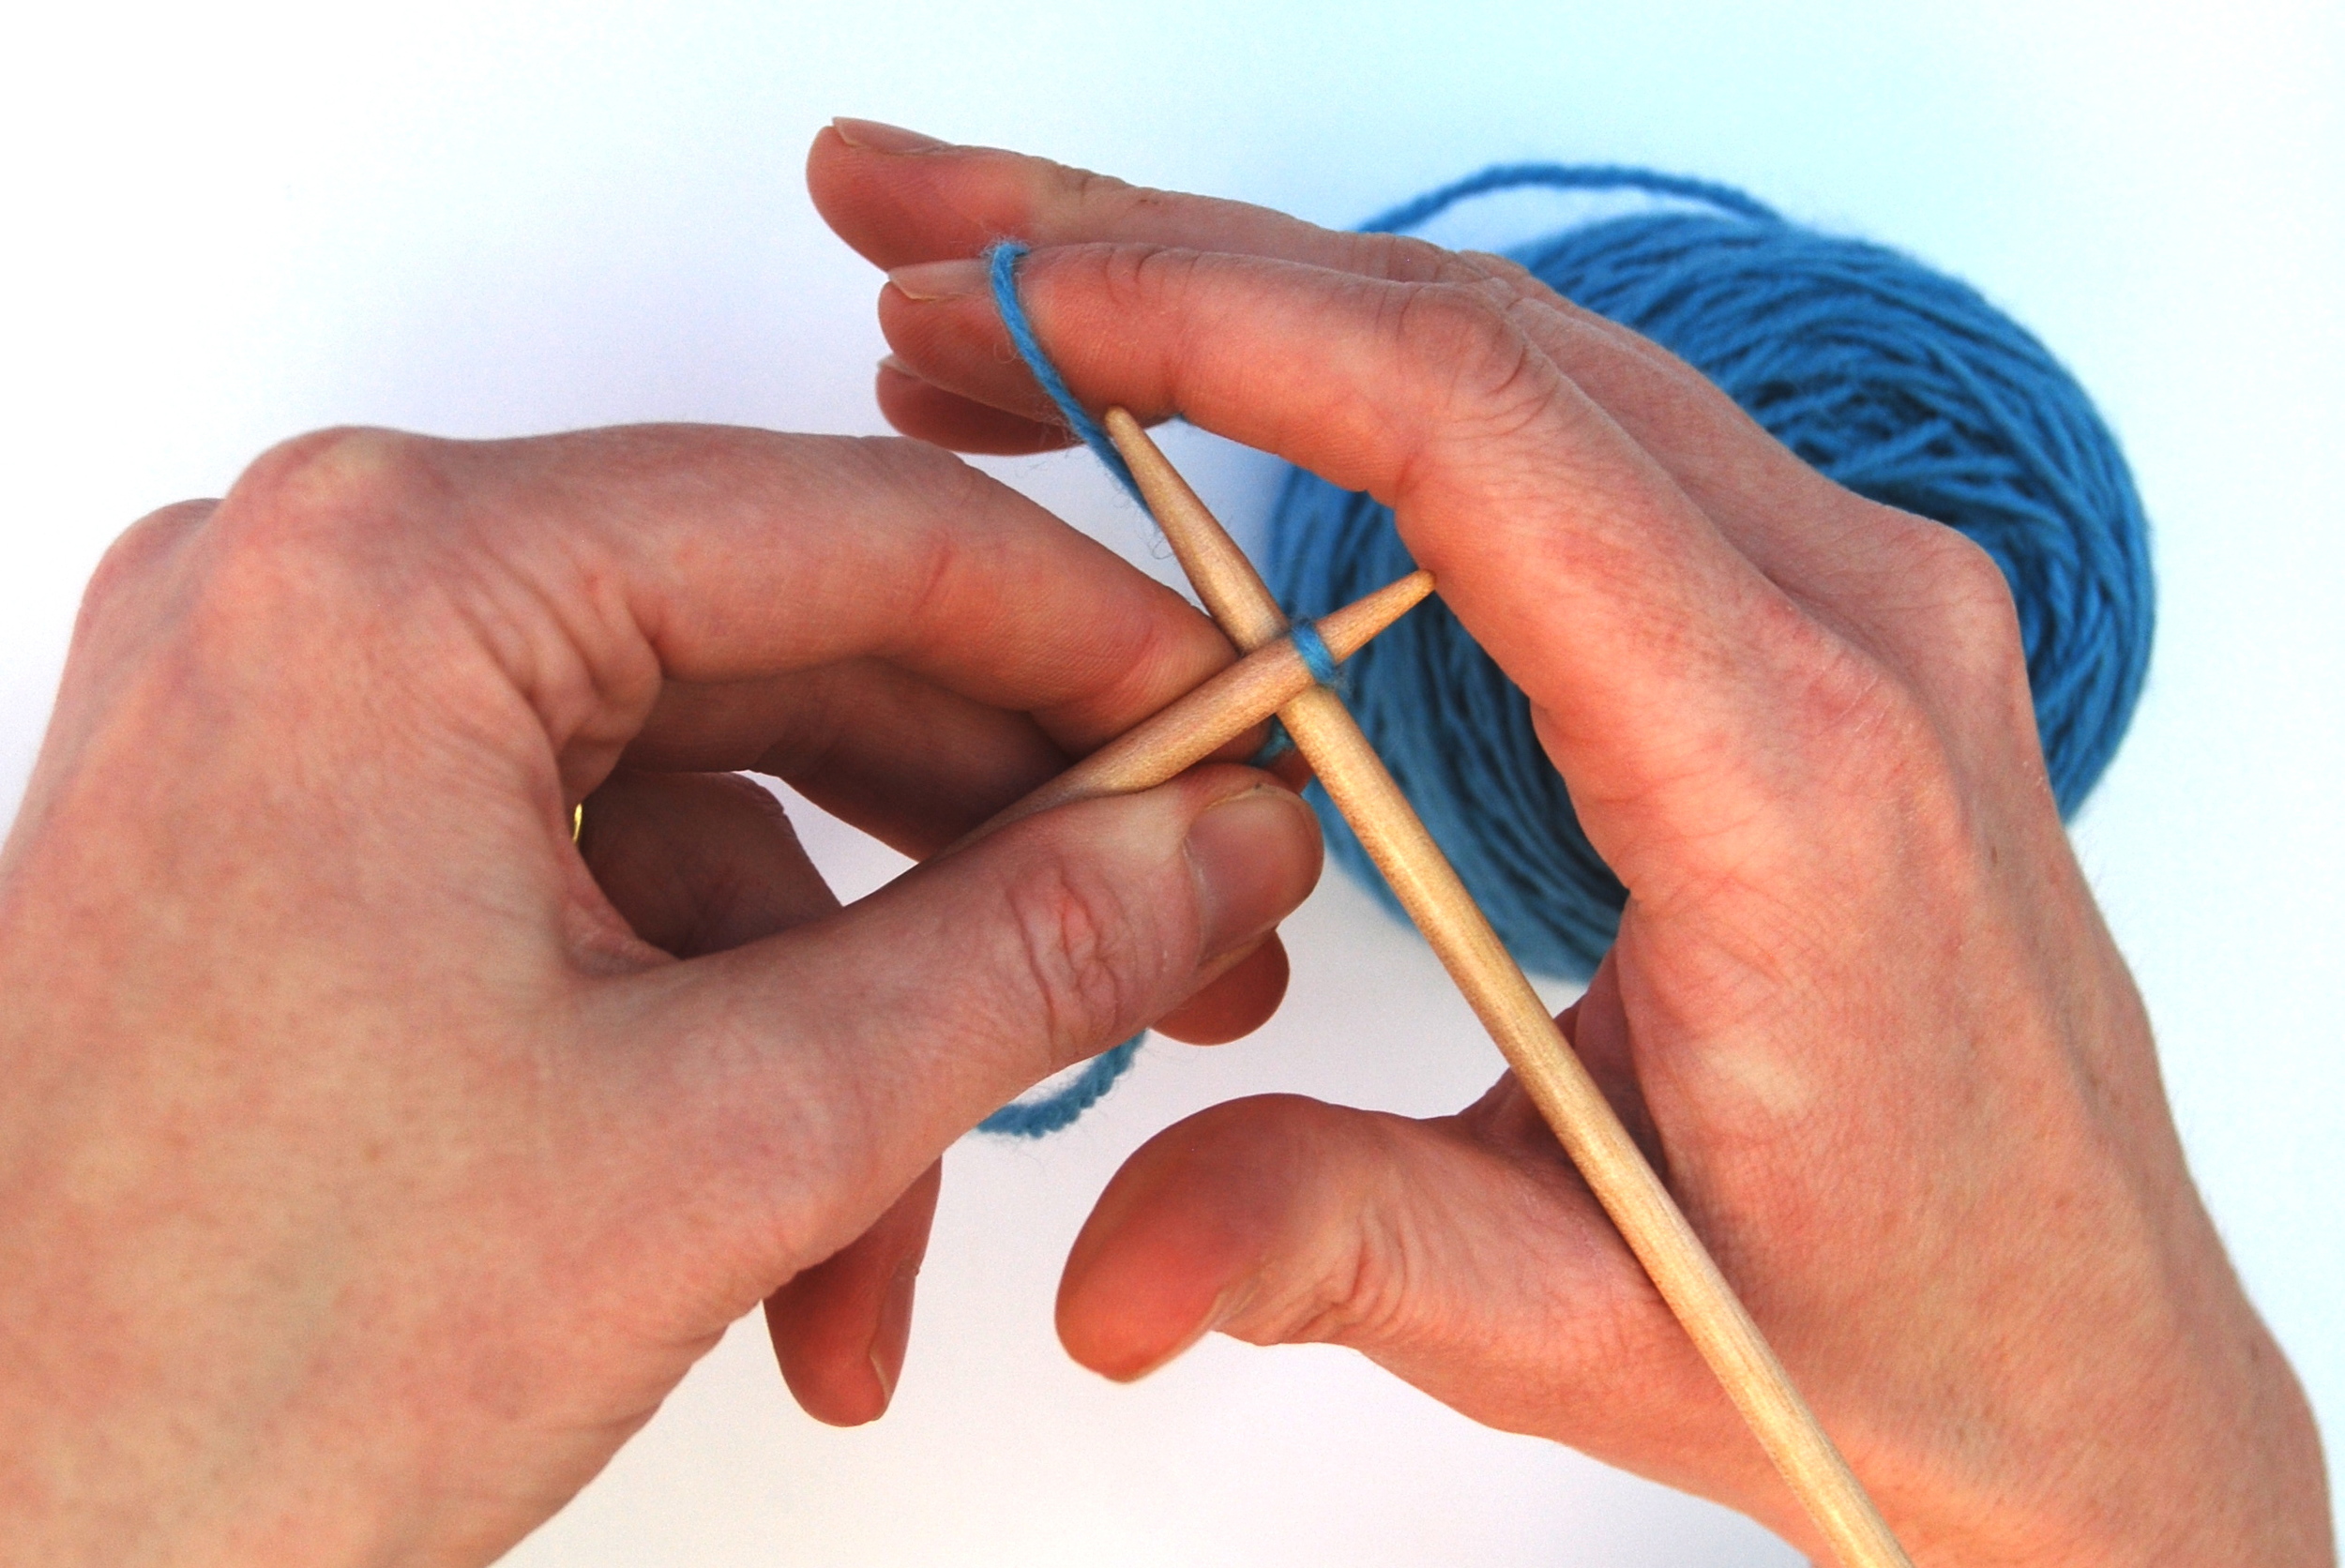
2. Take the long length of yarn between the index and middle finger of your RH, ready to bring it under the needle....
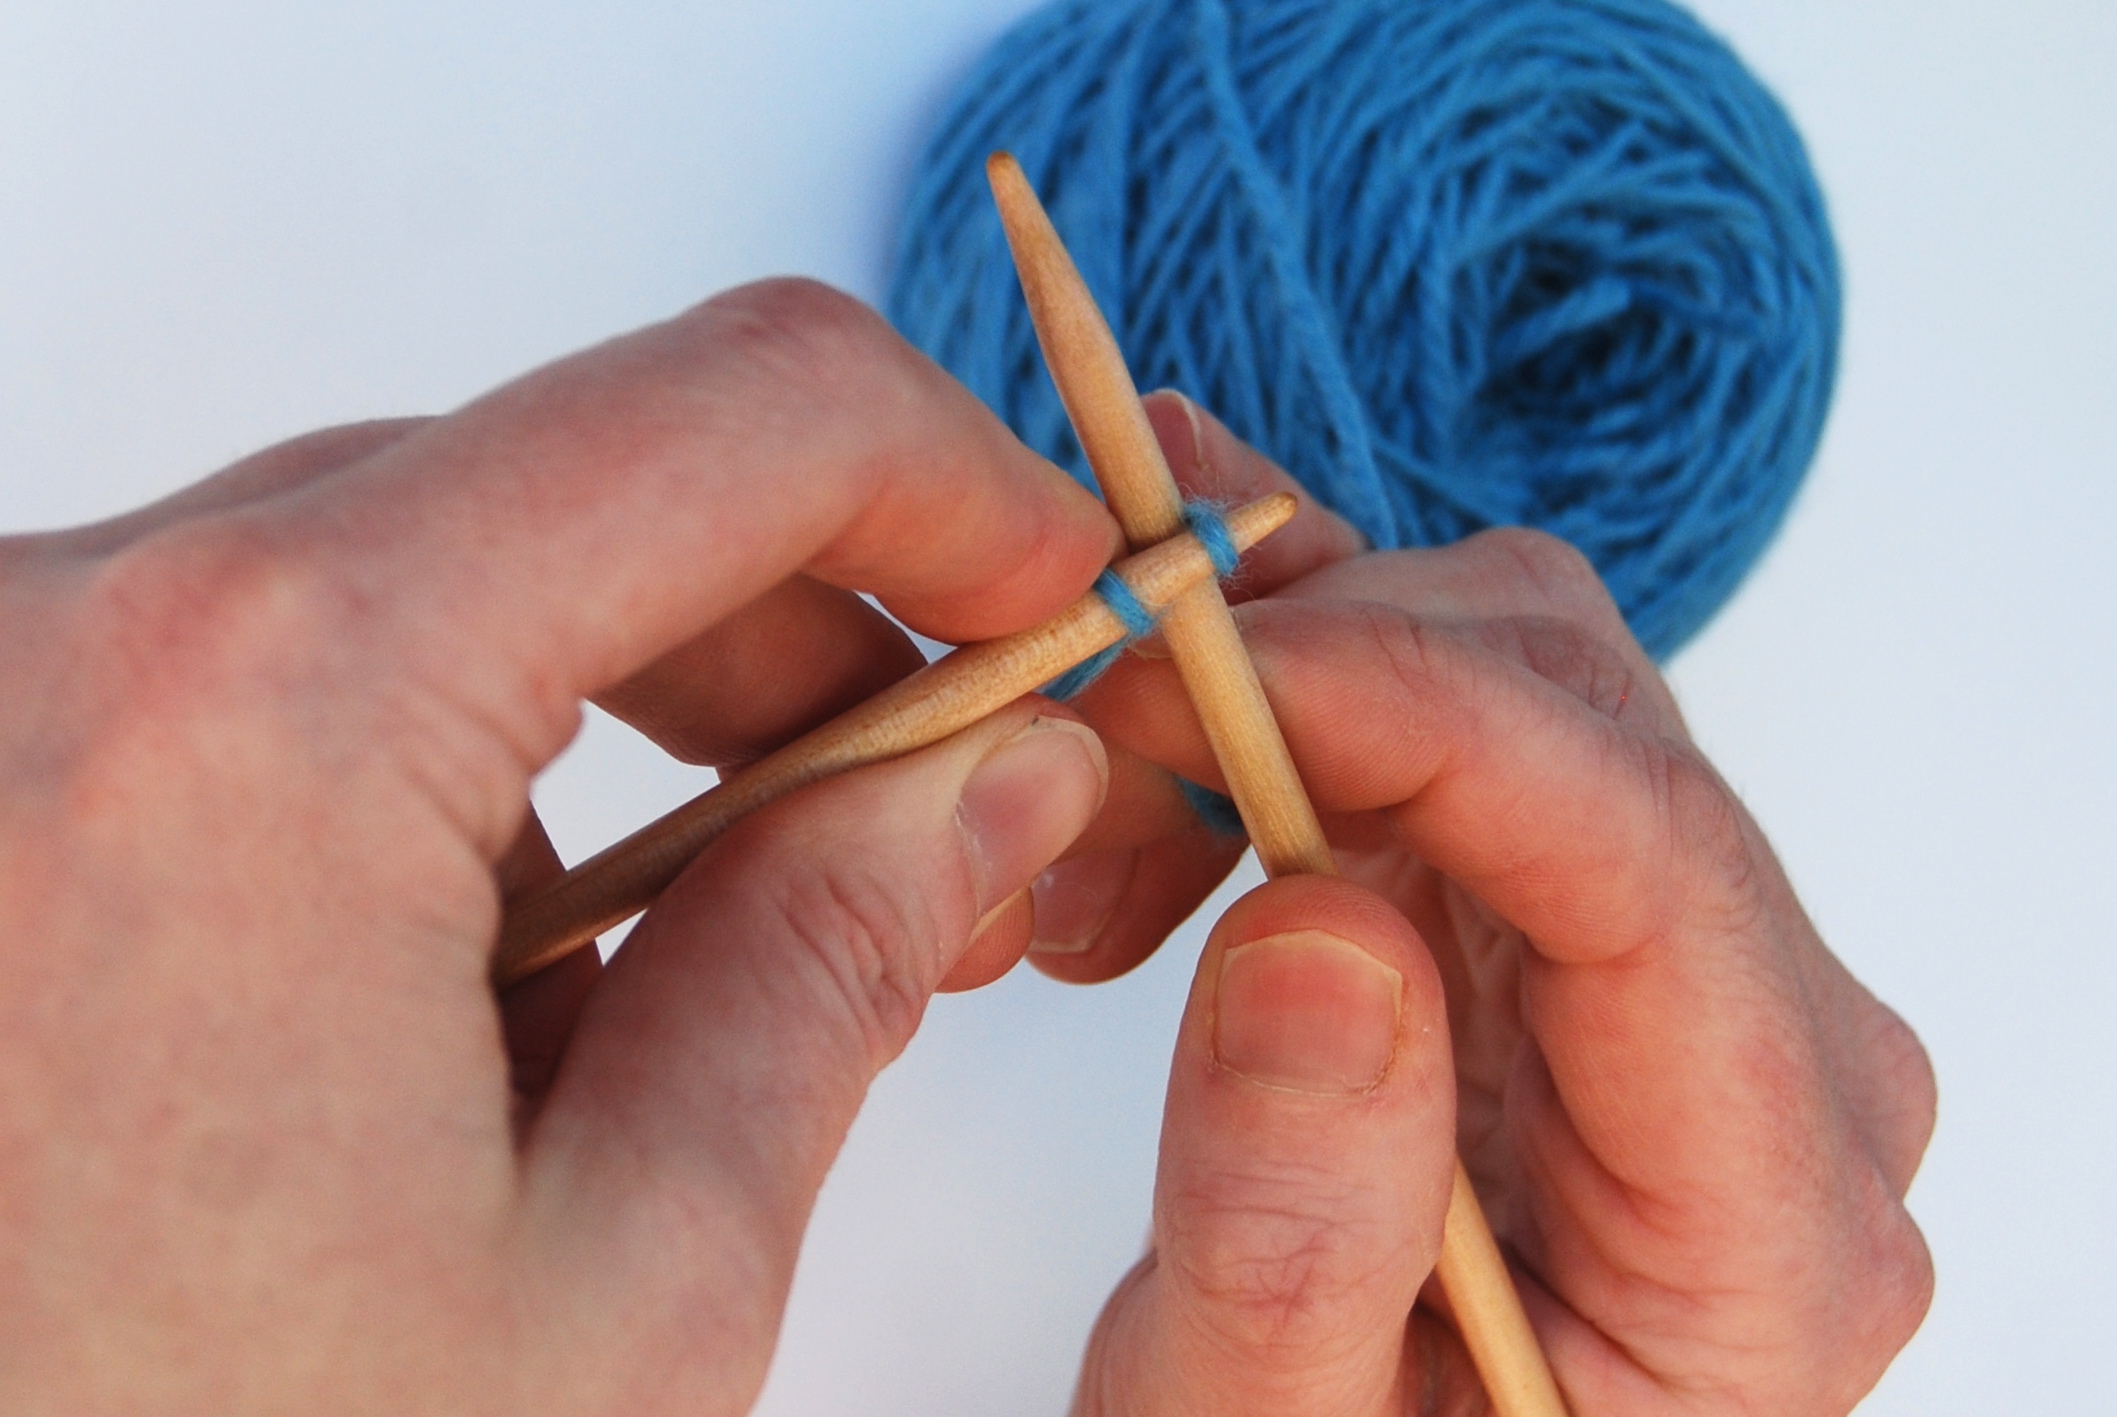
3. .....and over the top of it, whilst continuing to hold the short length of yarn between your left thumb and index finger.

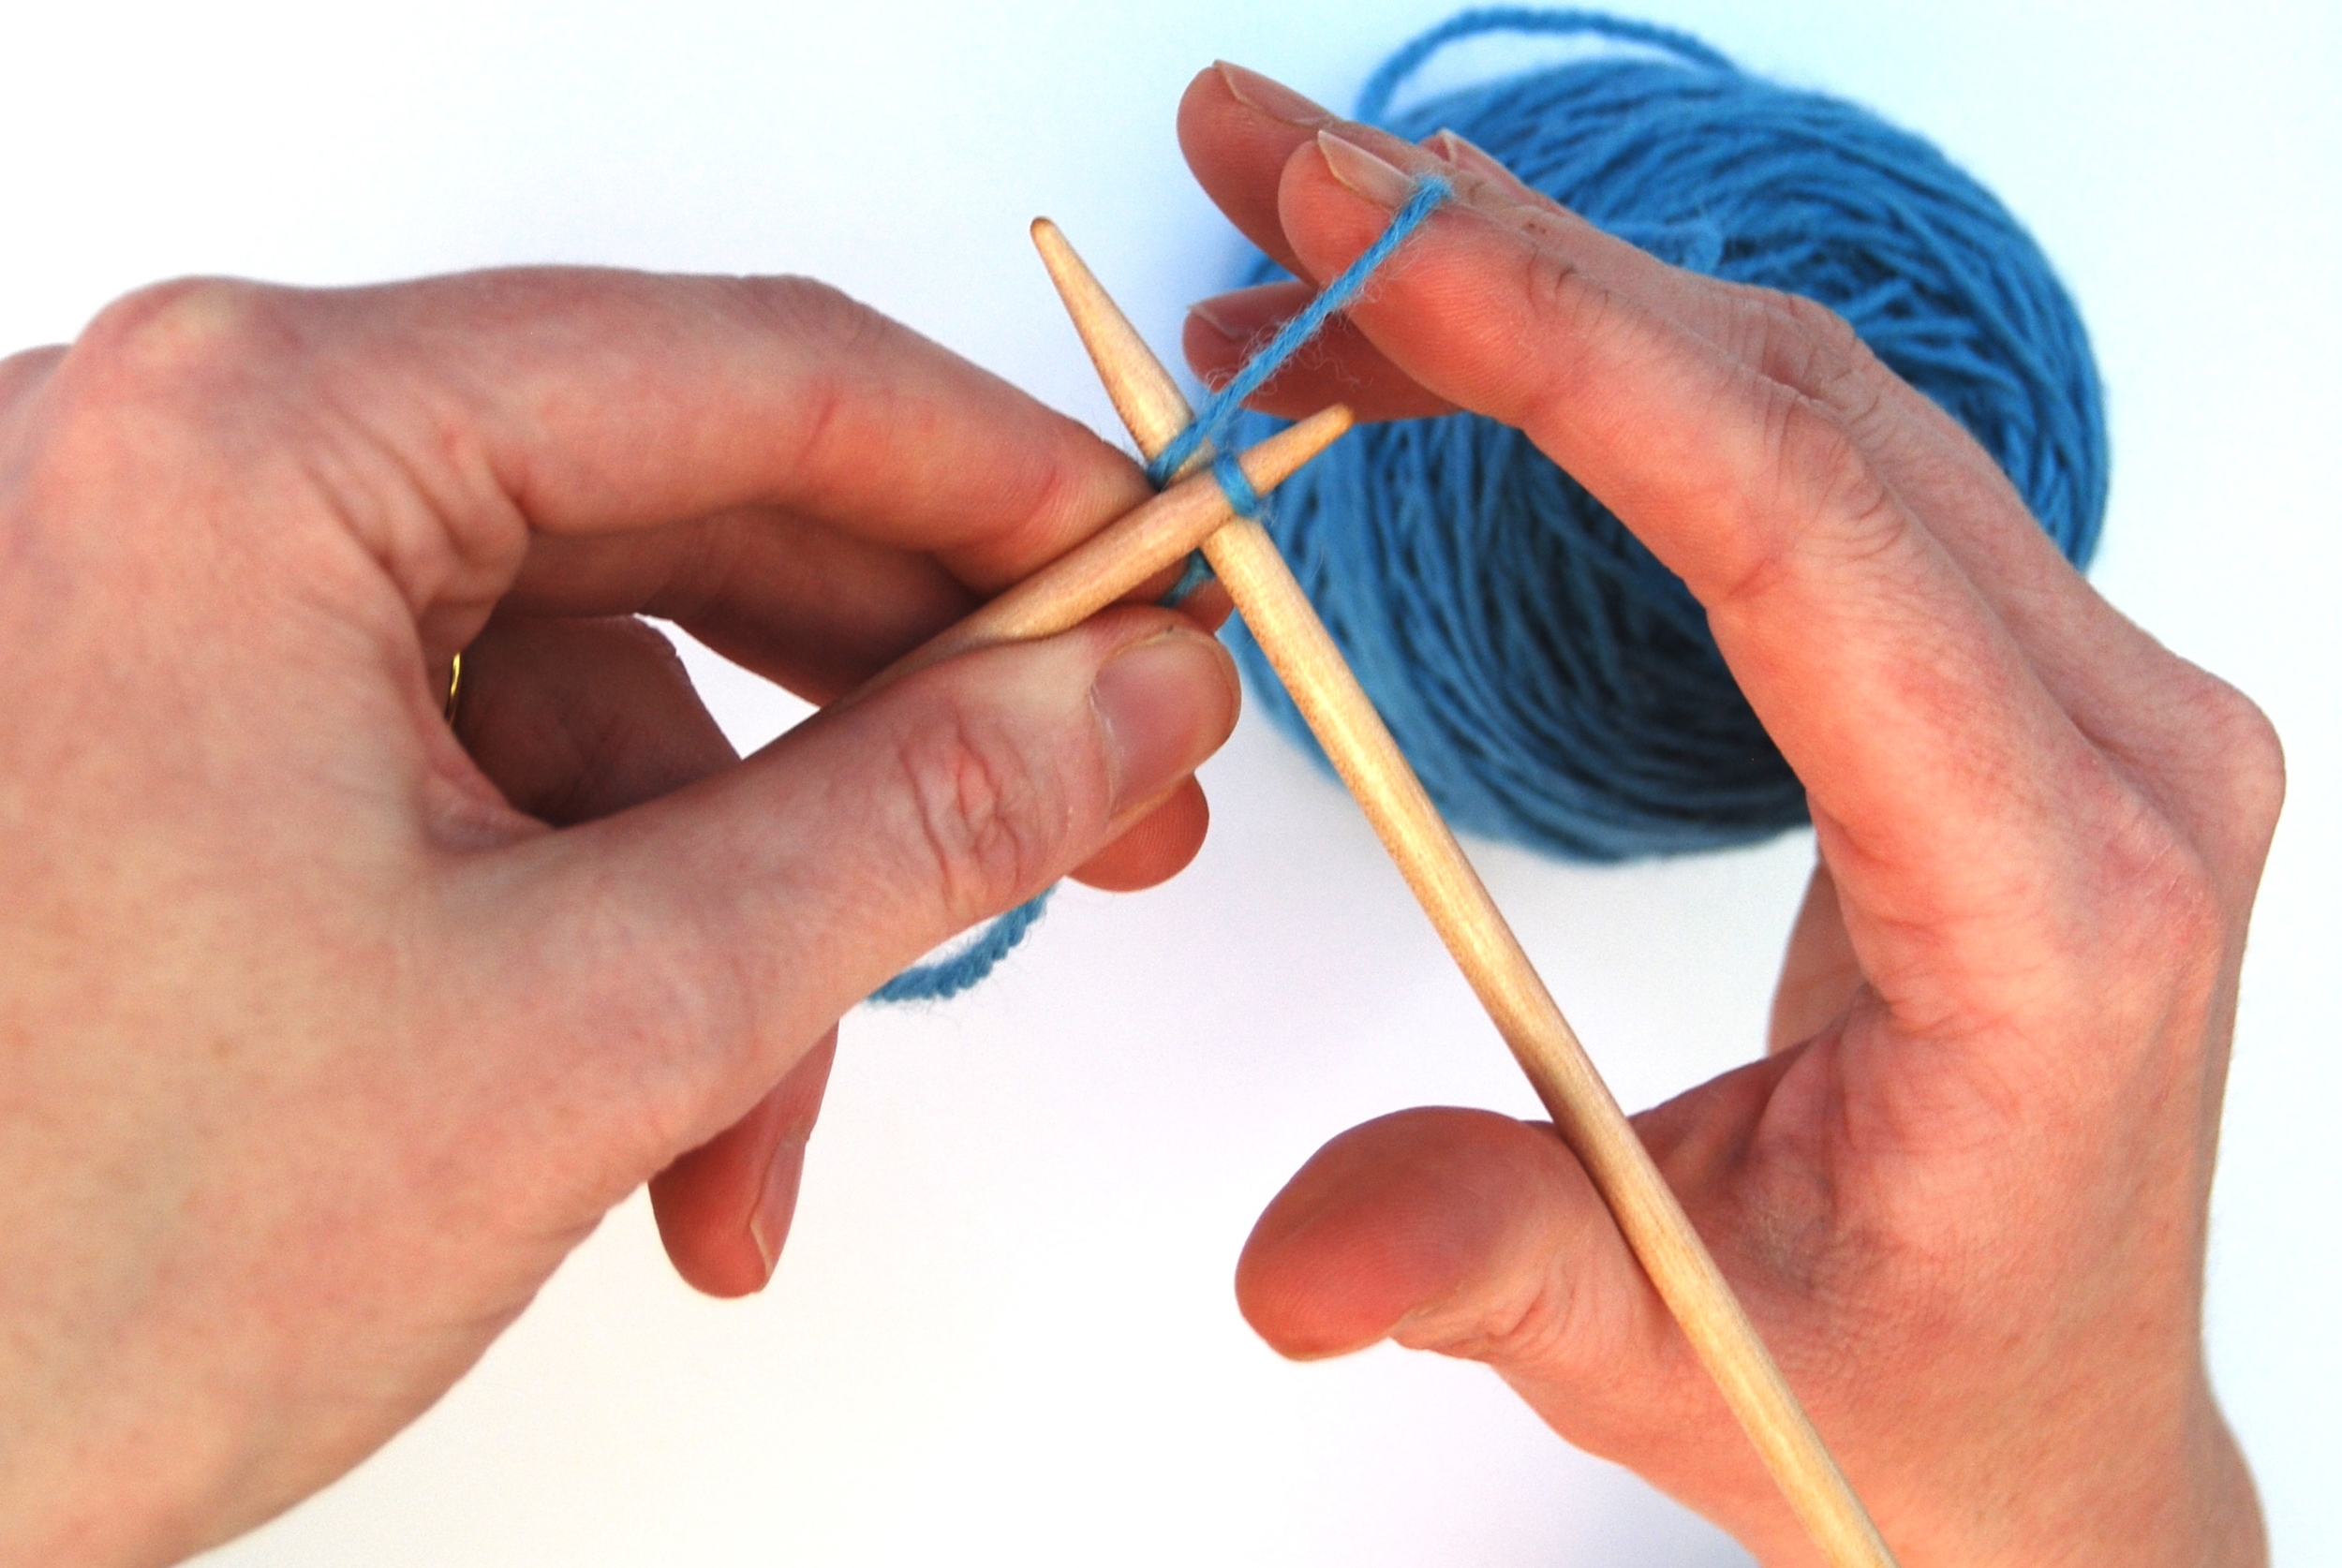
4. Bring the yarn under the left hand needle, and hold it firmly between the index and middle finger of your right hand.
5. Bring the new loop created to the front by pushing the point of the right hand needle with your left hand index finger until the needle pops out on the other side, with the yarn still firmly wrapped around it.
6. Release the tension on the yarn held between your index and middle finger to stretch the new stitch and pull it towards the tip of your left hand needle, holding the first stitch back with your left hand index finger as you do so, otherwise this stitch will travel to the tip of the needle and might fall off.
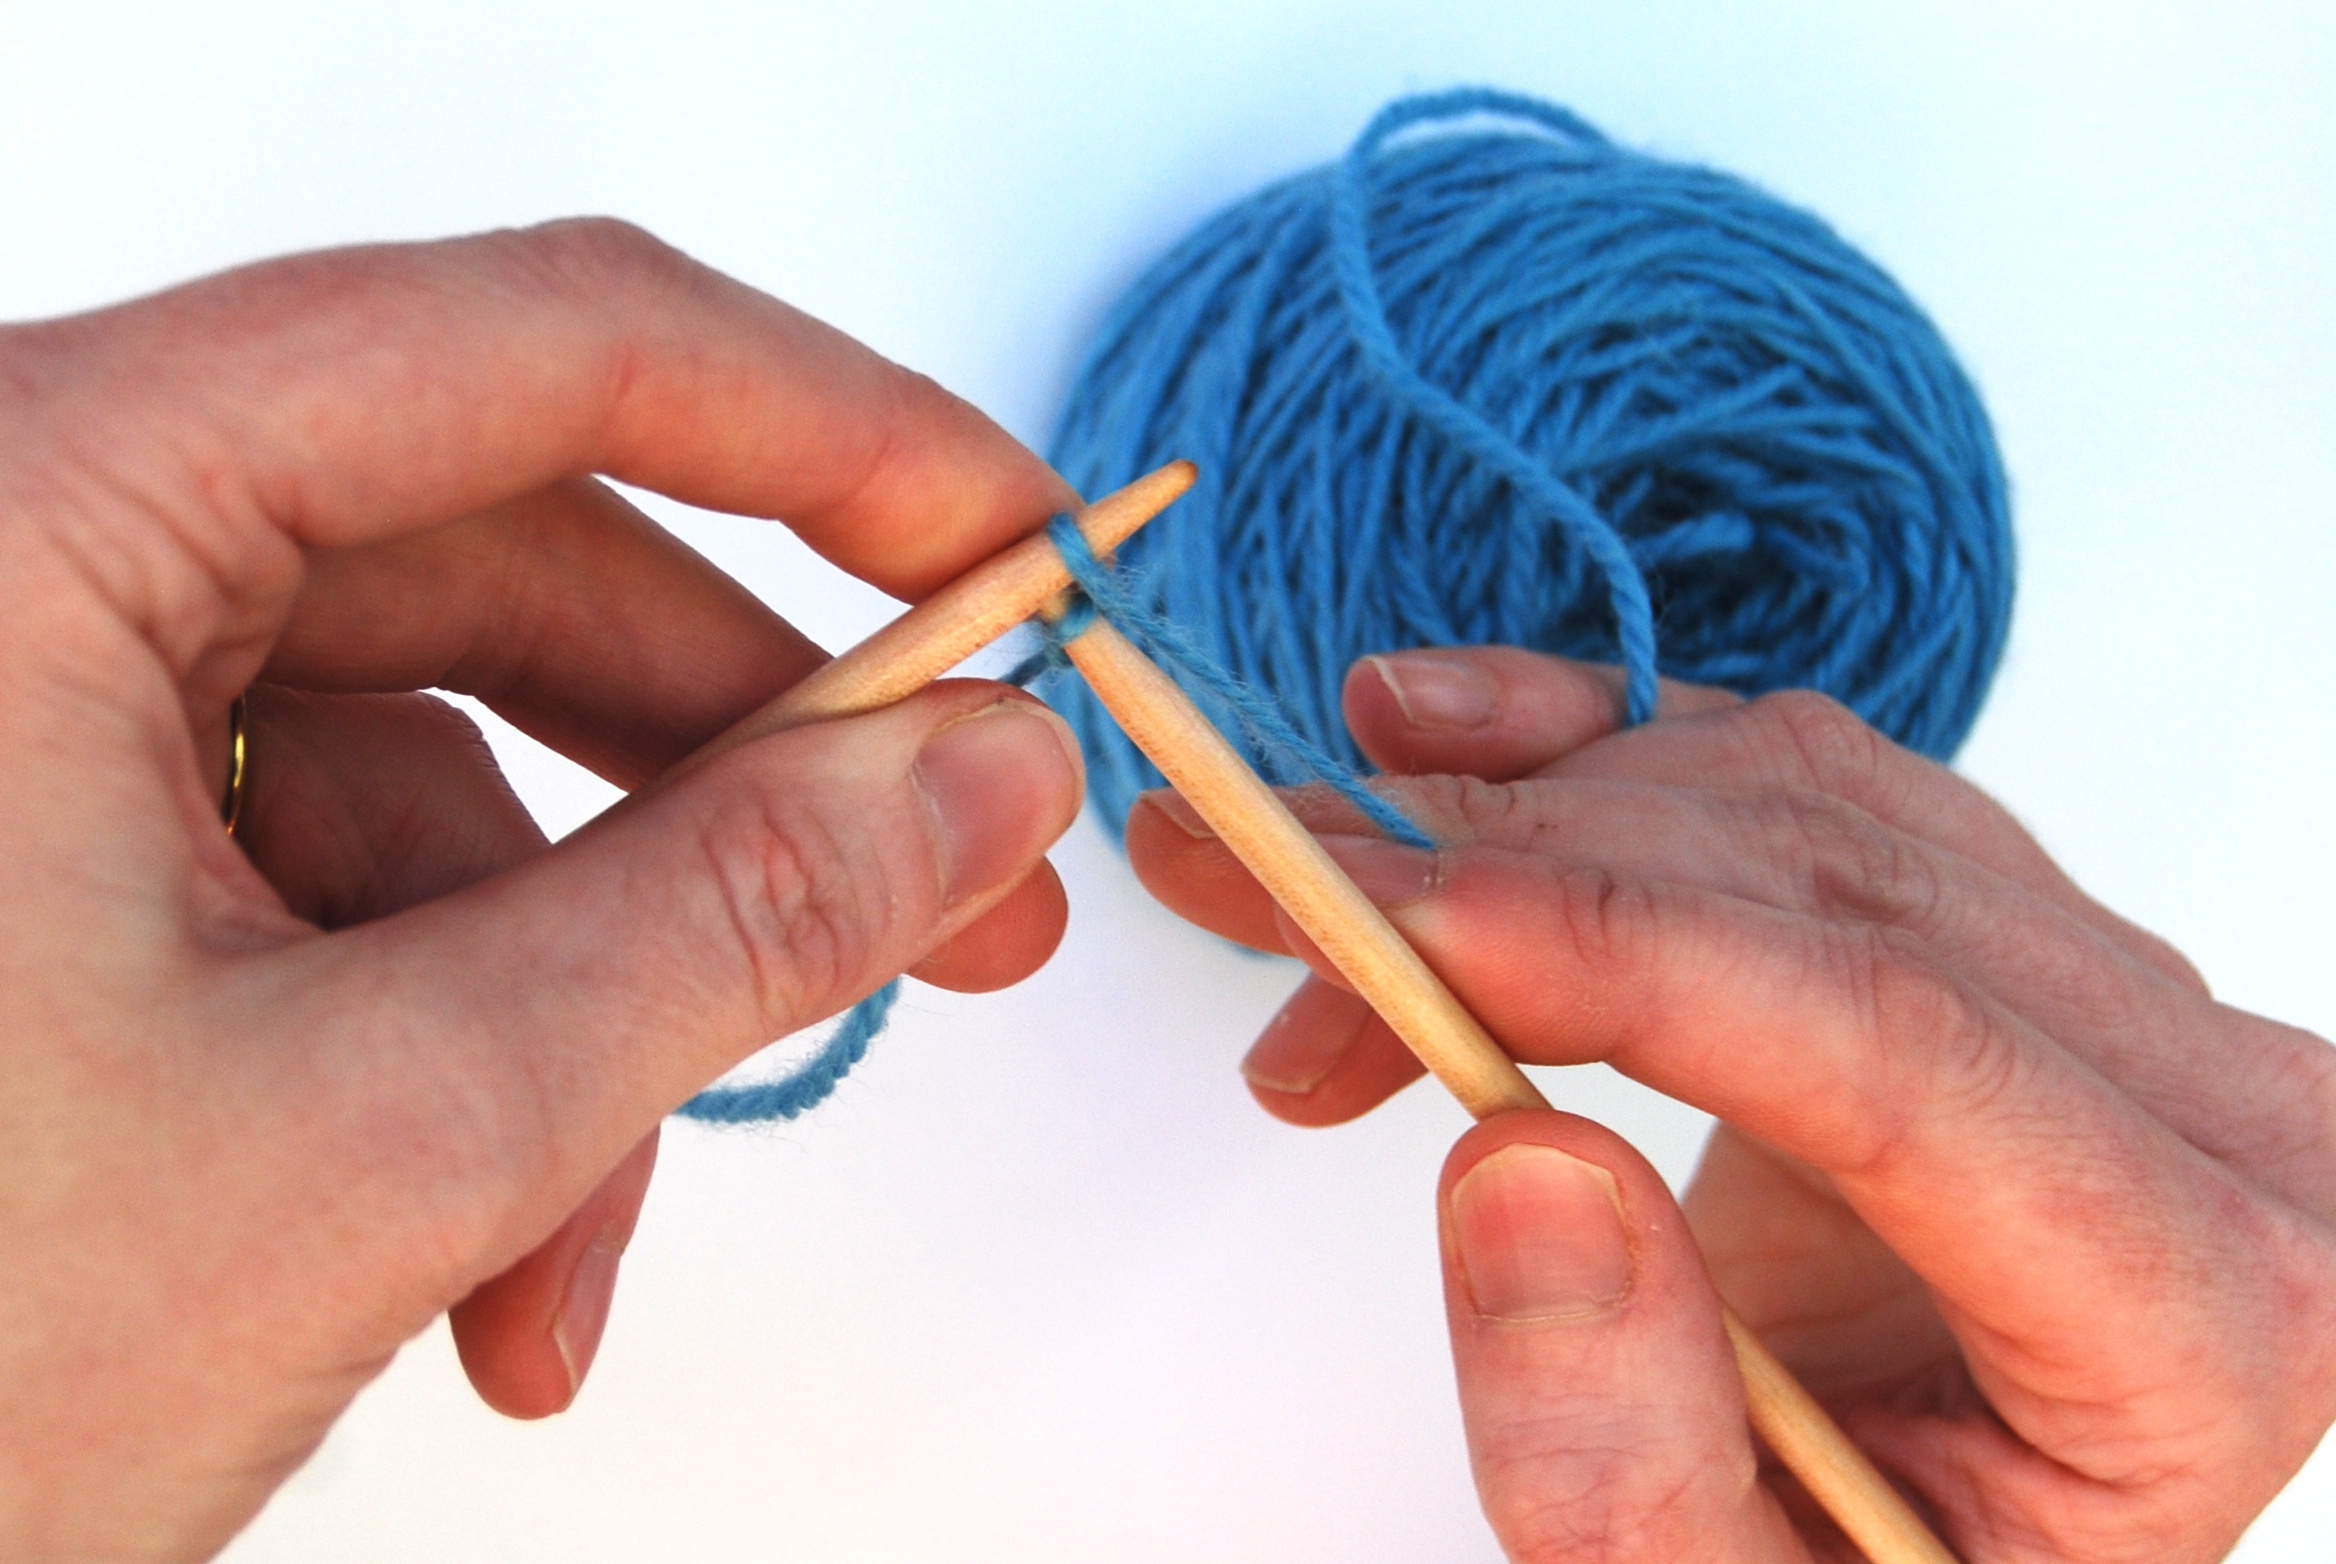
7. Once you have placed the new stitch on the LH needle, pull the yarn gently to make the hole smaller again so it is the same size as your previous loop, snug against the needle with a little air pocket. You have now created your second stitch. Repeat steps 1 - 7. This photo shows how this time you will be inserting your needle behind the second stitch and in front of the first stitch. This feels more comfortable and is easier to control than the first stitch.

Eh, voila, your foundation row of stitches. You are now ready to knit!