
Starting a Sourdough Starter

With the first of our Sourdough Bakealongs starting next week, I wanted to give everyone who wanted to learn how to make sourdough bread the opportunity - not just those of you who have purchased kits from us (no longer available).
As with everything on the internet, there are roughly 11.2 million ways to make a starter for sourdough...and all of them are probably in some way right. A starter is simply a way of creating the right environment for friendly yeast and bacteria to grow, so there are naturally a multitude of ways to do this entice different microorganisms.
Whether you bought one of our kits or are following the method below, the starter we will be working with is a simple 100% hydration (all this means is that the water is equal to the flour) flour and water starter. Depending on the kind of starter you want, you may want to start with a rye or wholewheat flour. As these flours have more natural bacteria in them and offer food for a wide range of microorganisms, starters made initially with this flour do tend to ferment faster. However, which ever you pick to start you can always change later.

Ingredients and Materials:
1ltr jar (glass or food grade plastic)
500g strong bread flour, white, brown, rye or spelt*
500g of water *
* you only use 100g of each at a time
“Method for Starting a Starter
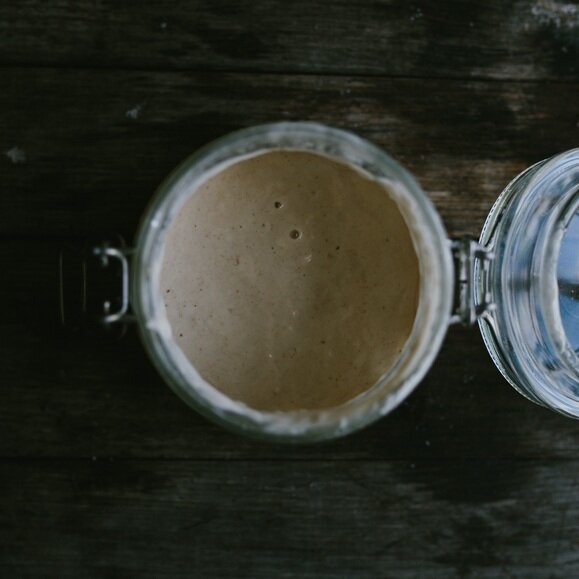
Day One: In a glass jar with a loose fitting lid, mix 100g of bread flour (white or wholemeal, your choice) and 100g of water. Give it a good vigorous stir. Cover loosely and leave in a warm place for 24 hours.
Day 2-7: Discard 100g of your starter. Add 50g of bread flour and 50g of water to your starter. Give it a good vigorous stir. Cover loosely and leave in a warm place for 24 hours.
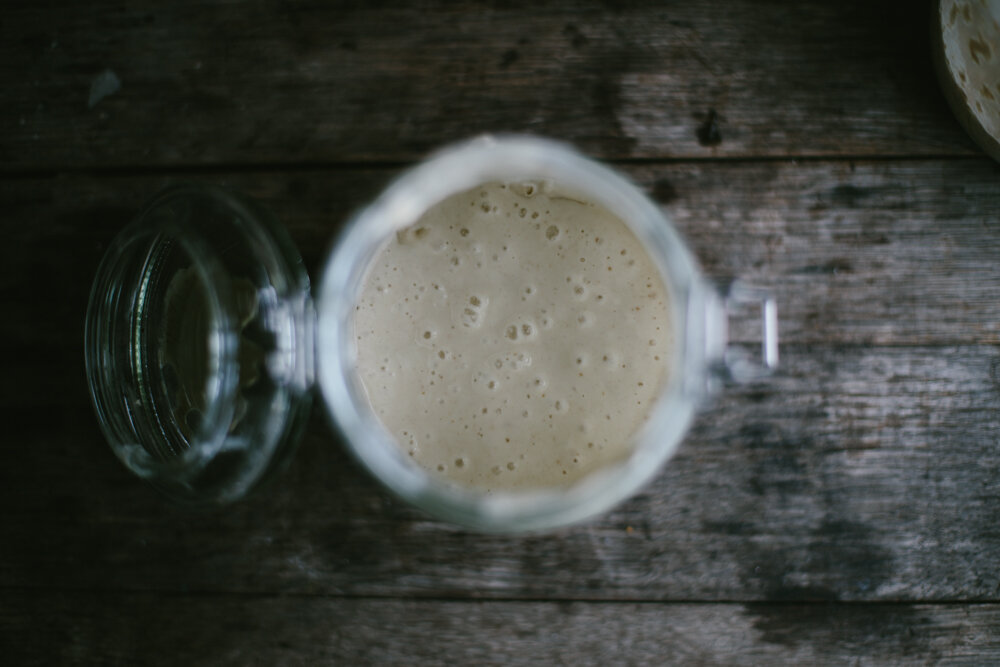
By day 5 the starter should start bubbling. It is ready to bake with when it doubles in size and or is very bubbly about 4 hours after feeding.”
Maintaining A Starter.
Like any living creature, your starter needs to be fed on a regular basis. Starters are much more forgiving than people are led to believe and you can pretty much clean out the jar, leaving only a tiny bit of starter at the bottom and your starter will re-grow.
We have changed how we feed our starter. We used to keep more in a jar, using 2 parts starter to 1 part each of flour and water. This creates a more acidic starter, which we like and great if you are baking regularly.
If you are baking less regularly, a starter with more food in it is better:
1 part existing starter
2 parts water
2 parts flour
(ie 50g of starter, 100g of water and 100g of flour)
Using a Starter:
When using your starter for sourdough bread, it is best to use a freshly fed starter. Generally, you want to feed your starter between 4-12 hours before you bake with it. For example, if I want a loaf of bread for morning, the day before, at breakfast, I will feed my starter, for mixing up that evening. Or if I plan on baking bread for the next day's dinner, I will feed my starter at bed time the night before.
This isn't hard and fast, if you forget to feed your starter (and it isn't smelly and gross because it was left TOO long), you can usually use it to get an ok loaf of bread, or as an alternative, feed it right away and use it a couple of hours afterward. Starters that are fed more regularly are more active and make better bread, but by no means should you start being a slave to it...that is the fastest way to starter burnout!
Now that you have a starter, you are ready to either bake your first loaf, or join in on the June Bakealong on Instagram and Facebook!
If you find you need it, we offer a free starter first aid service too!