How to Photograph Your Finished Objects
Its been awhile since I did a tutorial here on SOTR and since crafters all over the globe use Friday to showcase their finished objects, I thought it would be fitting to show you how I get excellent photos of my projects.
-----
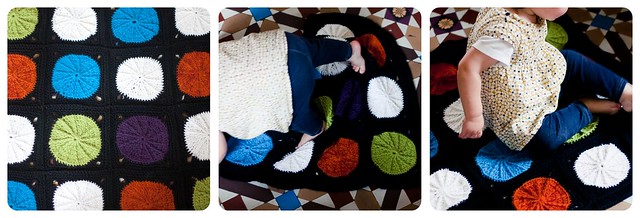
Lets say you have a finished object you would like to photograph. For arguements sake, lets say it is a baby blanket labouriusly made over the last 3 months for your youngest son, using various stash yarns and this modified pattern.
1. Find a quiet space to lay the poject out, ensure it has lots of light and, importantly, is free from disruption.
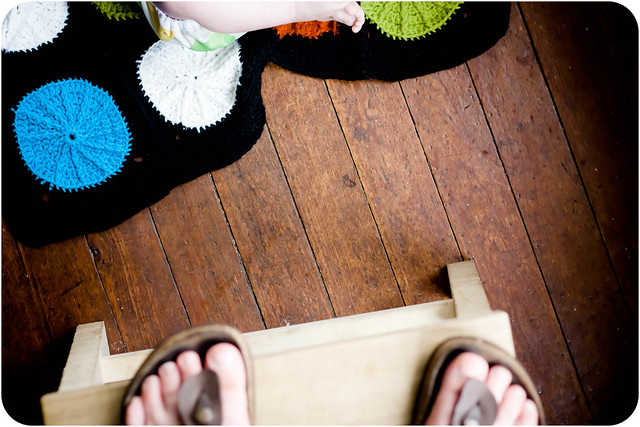
2. When that doesn't work, devise a new plan that involves barracading yourself behind the sofa in the bay window, whilst standing on a stool.
3. Set up the scene and camera. Attempt to get the model to look at you by making various animal noises.
3a. Please note that this may attract unwanted attention

3b. Make various empty threats about the dangers of re-entering the shot, after throwing your oldest child back over the sofa from whence he came.
4. Take as many pictures as you can while your subject practices his new skill of wriggling with purpose, thinking the entire time "I wonder if I can straighten that in Lightroom" 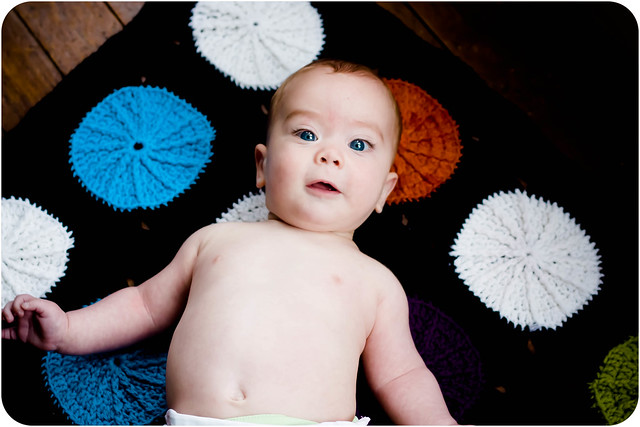
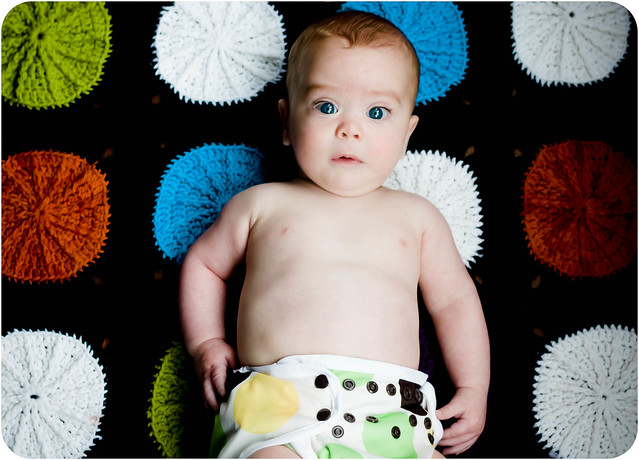
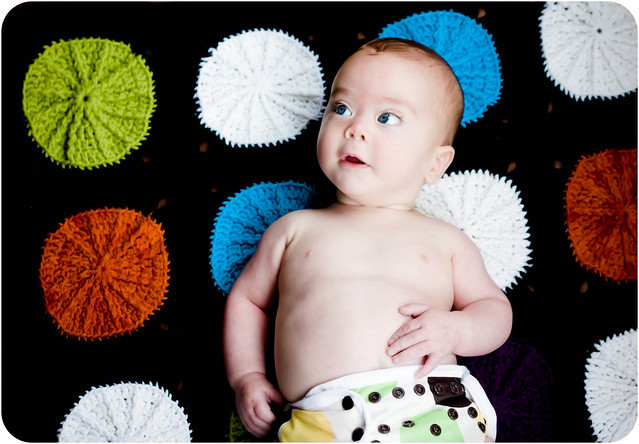
5. Change model's position to see if a tummy money shot is on the cards, whilst repeatedly (and ineffectually) telling all others to get out of the way. Then realise there is esssentially no blanket in the 24 photos you just snapped.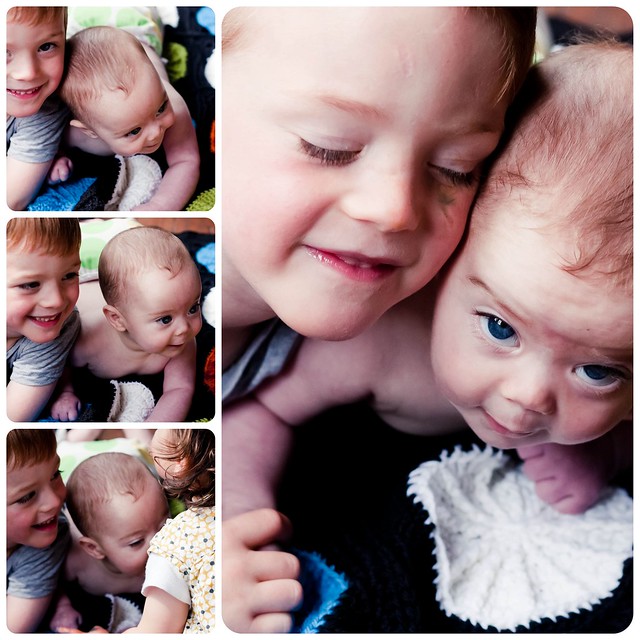
6. Sigh a deep sigh, be grateful that the bottle of apple juice found under the displaced sofa is empty and make a mental note to try and figure out why your daughter has multi-colored hands. 
7. Remember why it is you don't write tutorials and that, really, crochet is just an excuse to take pictures of your children.