
How To: Making Iron On Logo Transfers
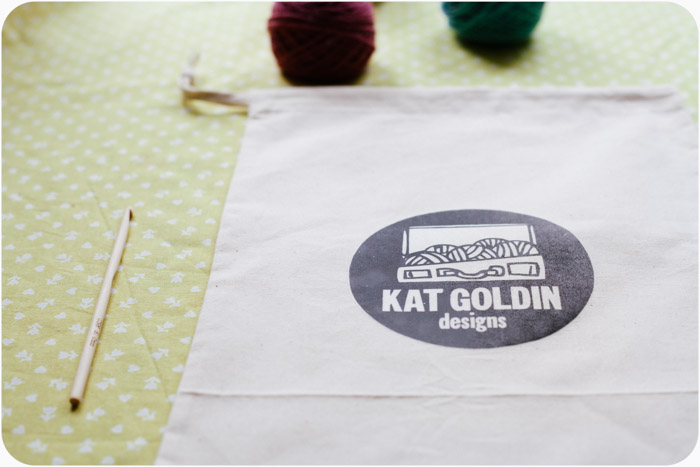 With all of my kits, I supply a little kit bag with my logo printed on it. I buy my bags from here and while they can print the logos on them, I don't sell kits in the kind of bulk that will justify the price of getting them printed.
After having a think about what the options could be, I settled on iron on transfers. These are pretty quick to do and it means that I can also easily make changes as I need to.
Materials:
- Drawstring bag (I like natural canvas, but there are a ton of colours available)
- Iron on Transfer Paper. Its totally worth buying the best that you can find. Cheap paper has a tendency to turn out very shiny or not adhere to the cloth. I like the one that changes colours when ironing so you know you have done enough. If you are using dark bags, you will need the special paper for dark colours.
- Computer
- Printer
- A digital file with your logo
Notes on Logos: My logo is a vector file which means it is infinitely scaleable. It is totally worth the effort of creating a vector of your logo to have as you won't lose quality as you make changes. Inkscape is a free vector illustration programme if you fancy doing it yourself. If your logo is JPEG or has been saved as a JPEG, they may get pixilated if you try and make them too big. Alternatively, sending your jpeg to a designer to convert often isn't that expensive. If you do use a jpeg or design your logo in Photoshop, make sure to make it nice and big so you will only ever have to scale it down.
Once you have your logo, you will need to use either Photoshop or Word/Open Office and Picmonkey to create the file for your iron ons to be printed from. If you use Photoshop, I have created a little video tutorial here or below.
For those of you who don't have photoshop, using Picmonkey and Word is almost as easy. Start by uploading your file to Picmonkey. This should be a JPEG or PNG file.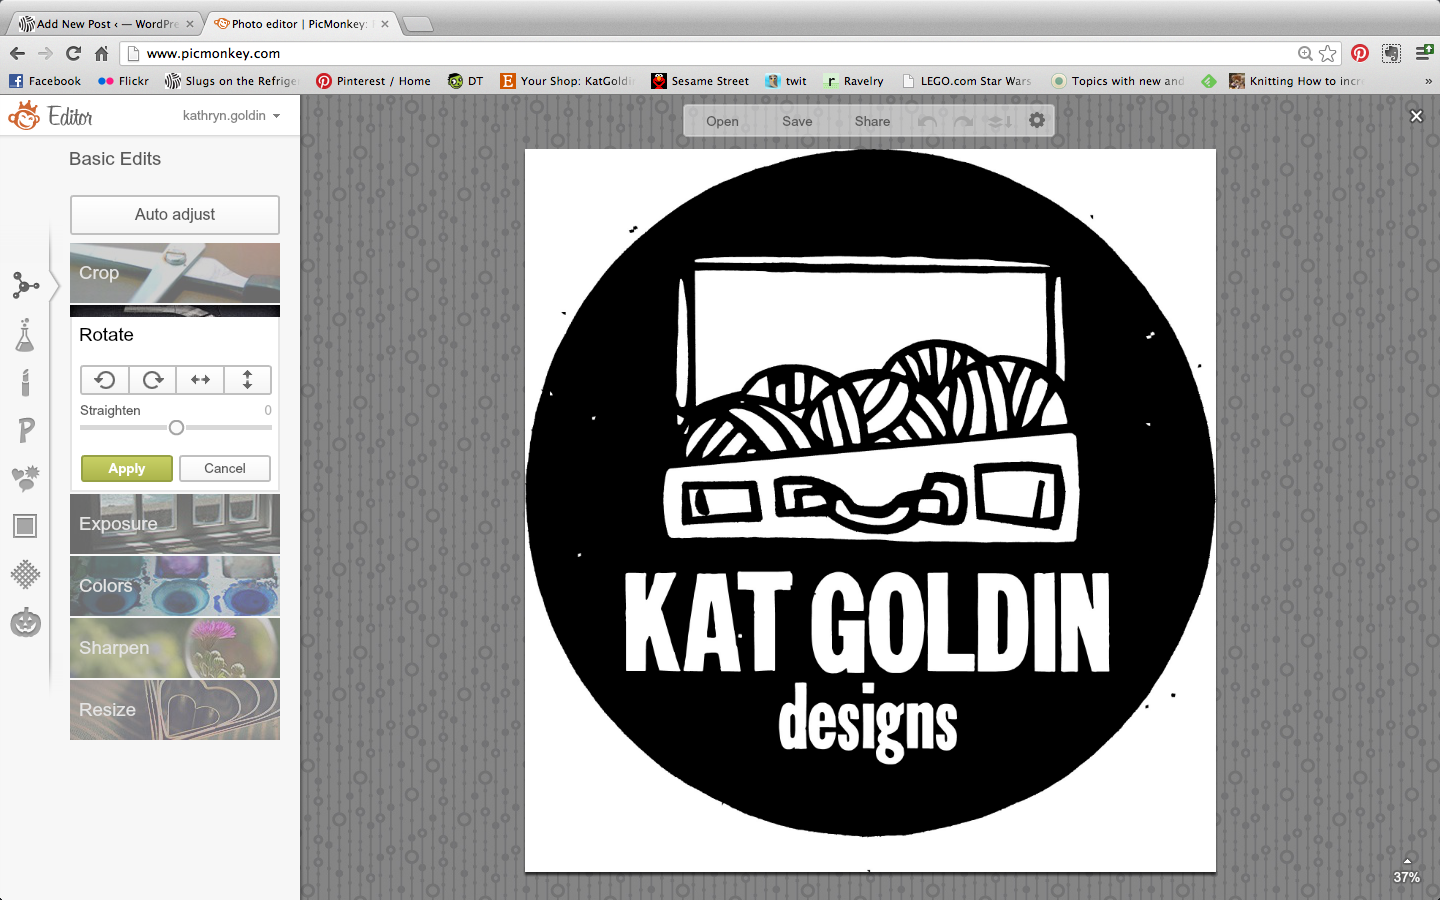
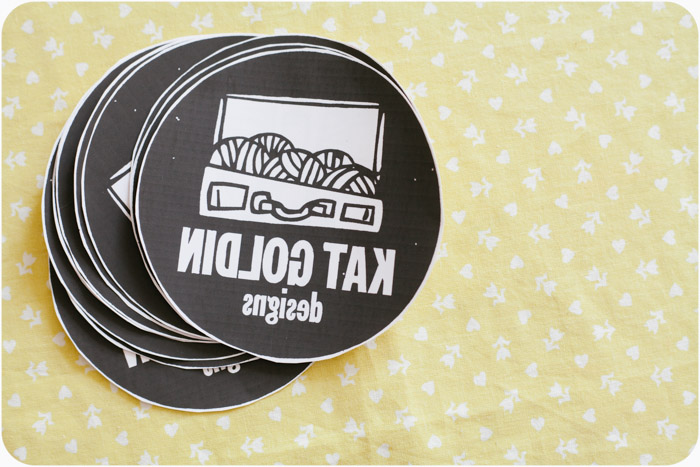
Go to Rotate and click the arrows pointing side to side to flip the file to create a mirror image (iron ons all have to be mirrored or your text will be backwards).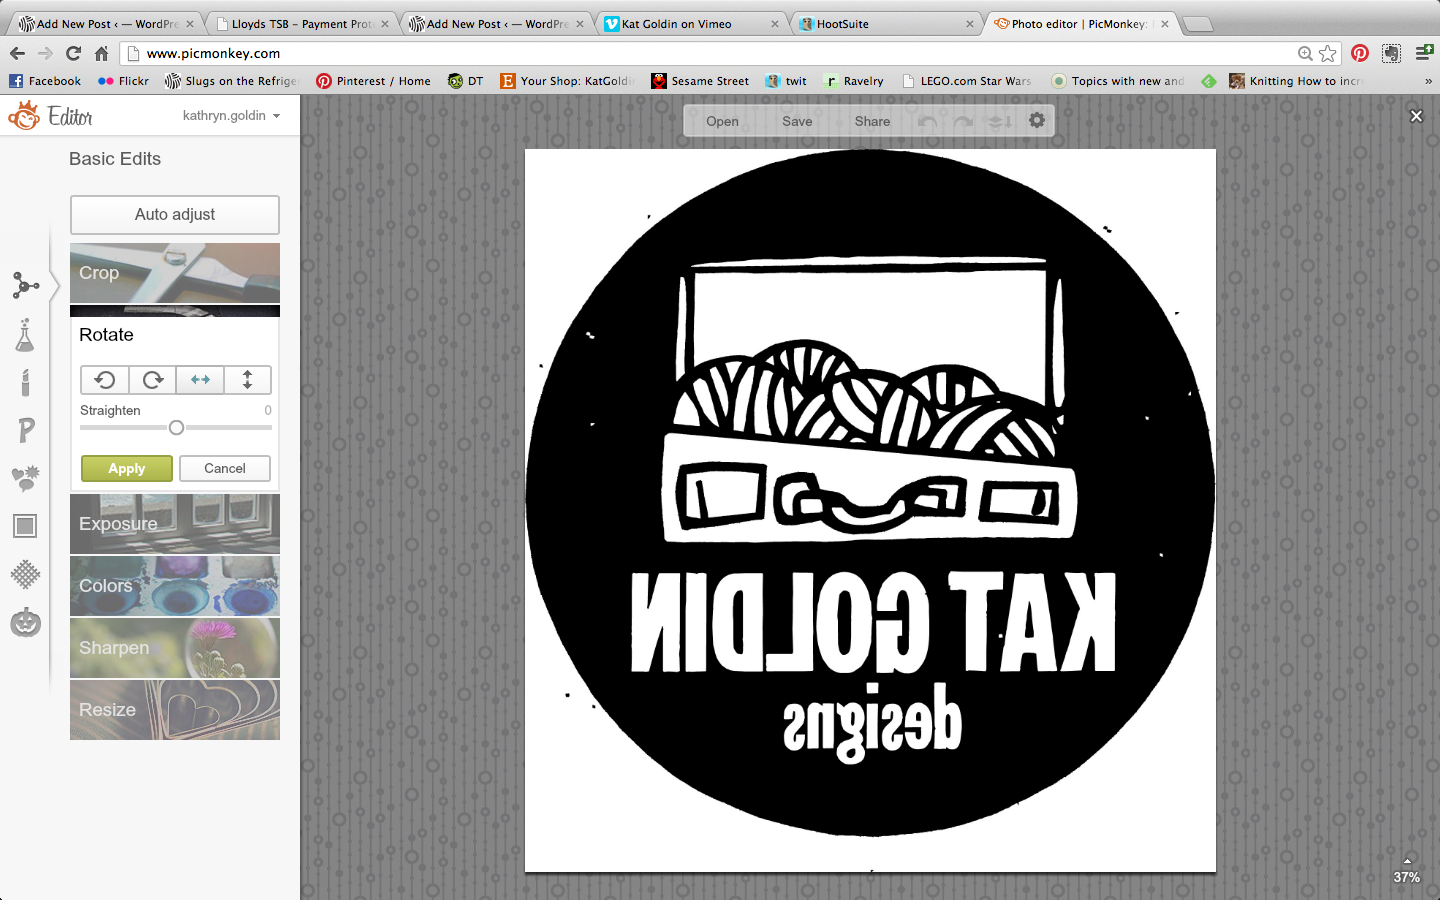
Resizing:
You can either resize your logo in pPcmonkey or save it and size it in Word. Personally, I like to do it in Picmonkey so I don't have to fiddle in Word which really isn't built for images.
In PicMonkey go to Resize. You need to think about how many logos you want per page An A4 page is roughly 2400 pixels wide and 3500 pixels long (or 210mm x 297mm). If I want 2 logos per page, I want my logo to be just under half as tall as the page. My logo is pretty much square, so there isn't much calculating to do.
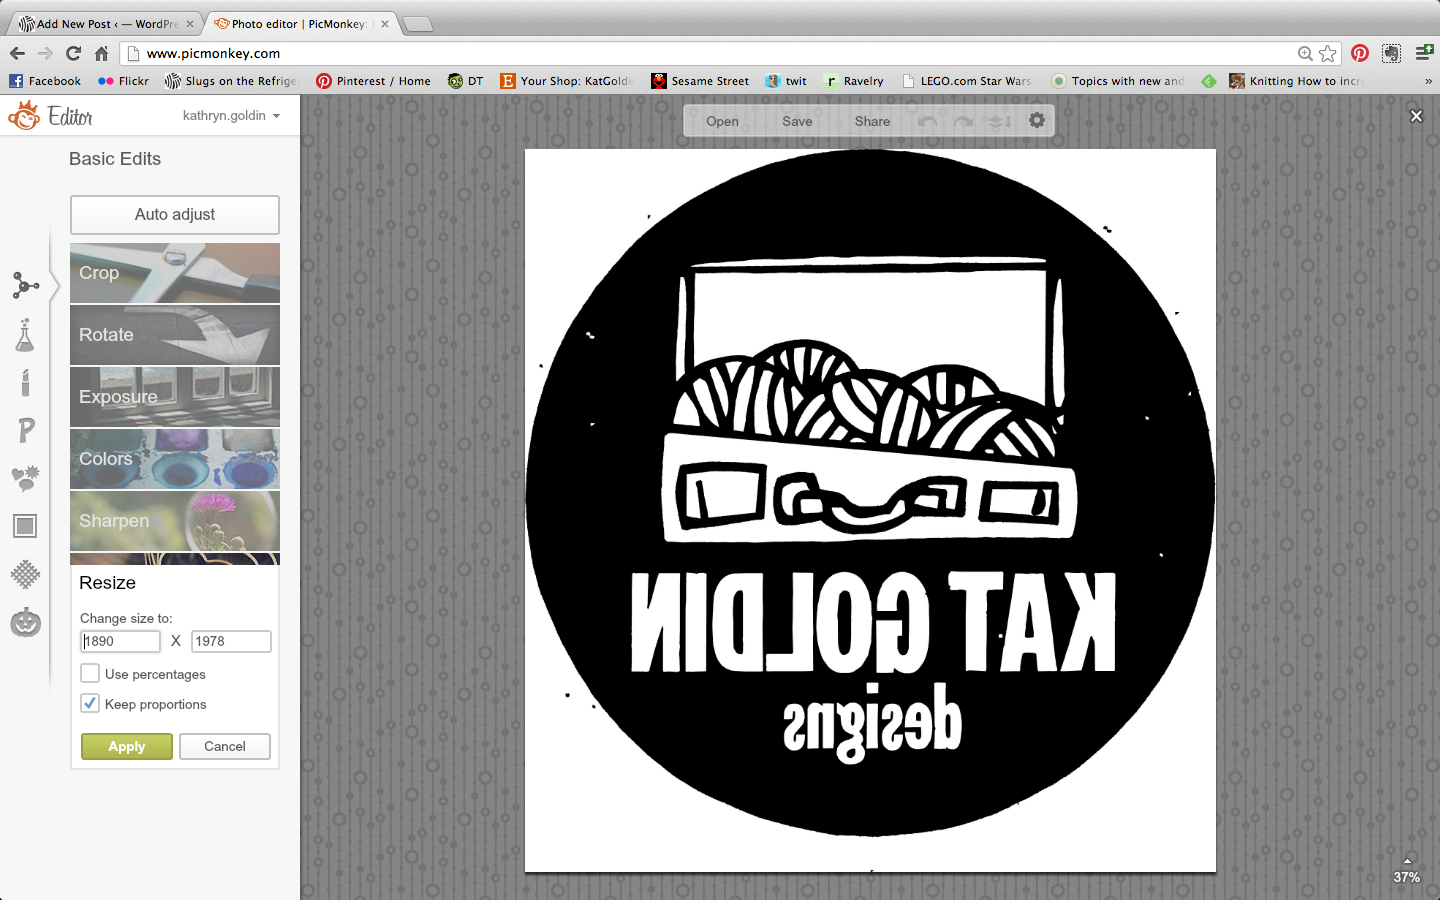
I resize my image to 1600 pixels high when using word this will allow for 2 logos and some space around the images. Always keep the proportions when resizing!!
Now save your file. Use a file name that helps you remember that this is the flipped version of your logo. When in doubt - save the highest quality you can.
Then go to Word. Create a new file and make sure your page size is the same as the paper you are using. Then insert your image.
To make your images as easy as possible to arrange, right click on your image and set your text wrapping to "none".

Copy and paste and arrange your images for printing.
Tip: This method works well for larger logos. If you are going to be putting more than say 4-6 logos on the page, it can be a right pain to get them all aligned. When using more, an alternative is to set the page up as a table (hiding the gridlines) and inserting your logos into that. In Photoshop, I will usually set the logo as a pattern and then fill with repeats.
One you've printed your transfers, it is a case of cutting them out and following the directions.
Hope that helps someone!! Any questions, you know where I am!