
DIY: Peg Board
I have been craving a pop of hot pink in my studio for awhile and after I saw this very cute pegboard, I knew that I had to combine the two. Peg board, or perforated hardboard, is actually, annoyingly difficult to find locally. After calling all of the local timber merchants and DIY stores, I settled for having to order online from here. I ordered 2 pieces - one for my wall and one for a photo backdrop.
The pegboard itself is extremely flimsy and in order to give it space at the back for the pegs and a bit more security, we bought a couple of pine stripboards (roughly 1x2").
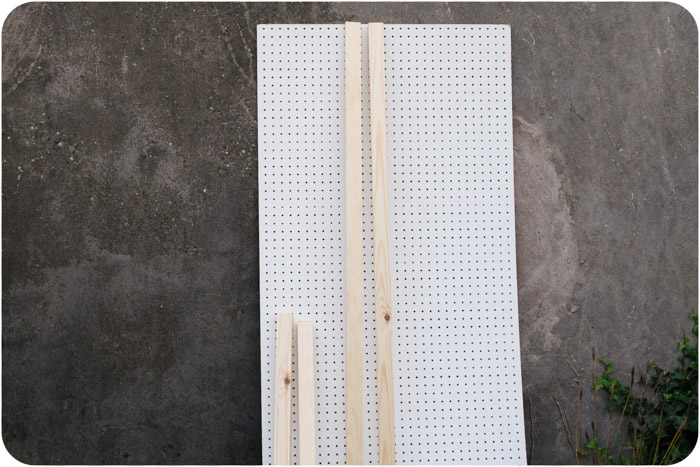
B&Q cut the strip board to size - 4feet on the long edge and 2feet minus the width of the longer slats to fit inside the frame. Unfortunately, we got home and realised the small slats were about an inch too long (I hadn't measured anything before we left, so um, it was totally my fault, not theirs). Fortunately, Kev agreed to help as I am not allowed to use any sharp objects due to a special talent for injuring myself.

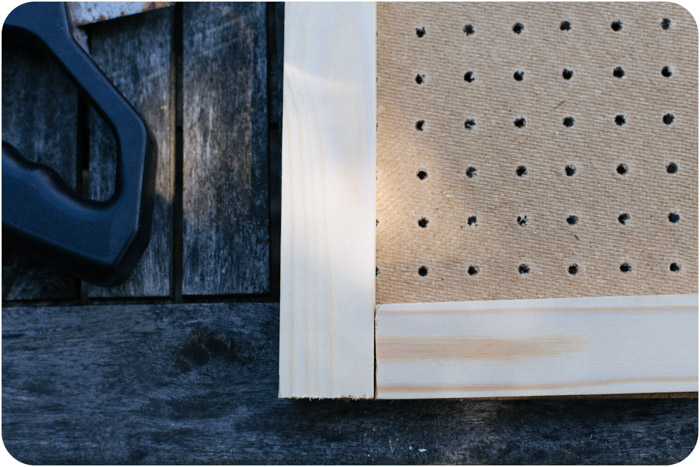
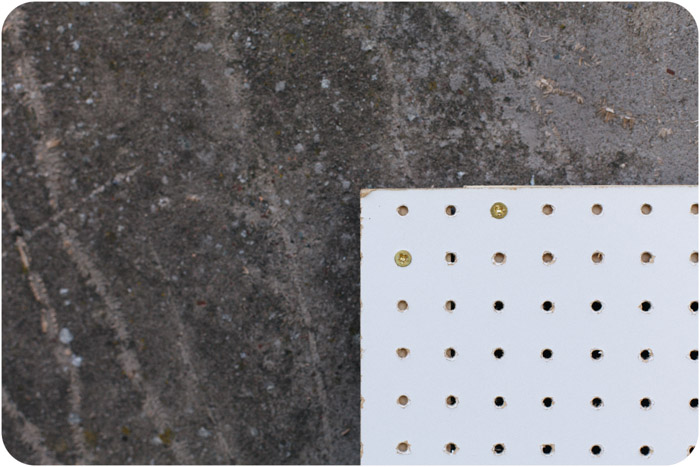
Using the holes as a guide, we screwed the frame into the pegboard.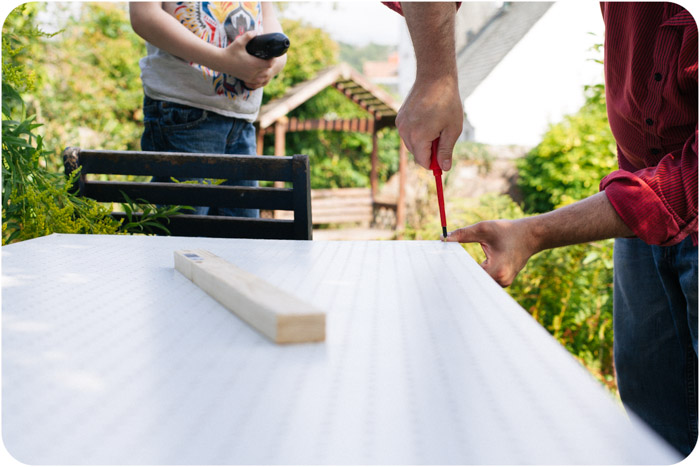
Then the family was put to work. Shortly after Georgia told me "I am an expert at this," I pointed out they were painting the wrong side. 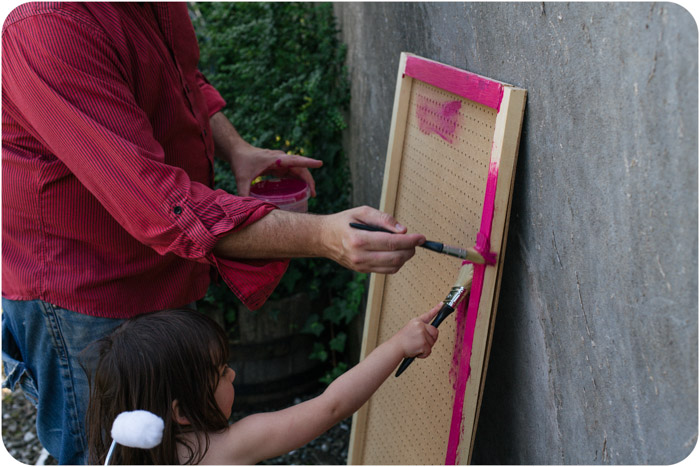
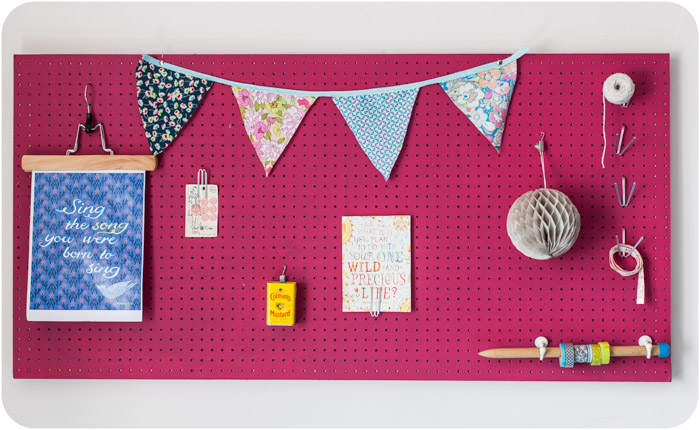
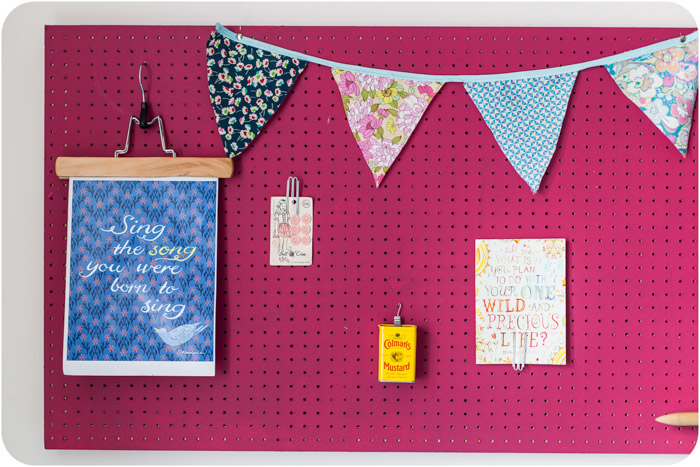
The pegboard is hung using picture wire and a pre-existing nail in the wall. We rent, so generally try to avoid making holes in the wall. This does mean that I can't put anything too heavy on it, but it does give me the shock of colour I need and a useful place for my random bits of things I need when watching Breaking Bad and crocheting on my office sofa.
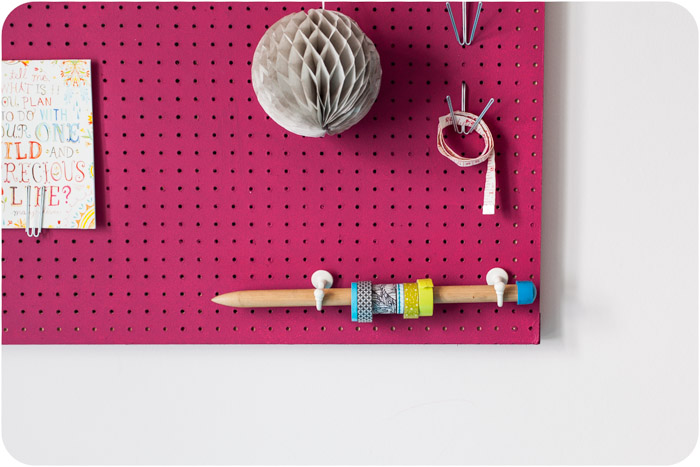
My favourite bit is most definitely the old knitting needle and hooks that now house my (rather pathetically small) collection of washi tape.
Who needs coffee with this to wake me up when I come in the office, hey?