Rope Bracelet

IMG_9662.jpg

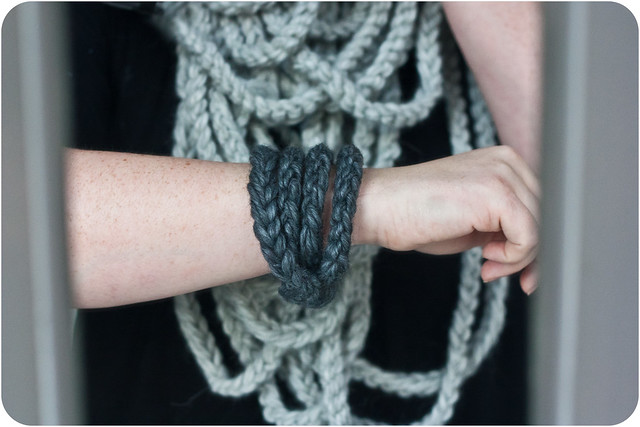
So, not quite what I planned, but how about a quick little tutorial on a rope bracelet?  You see, I had to clean my house today and didn't have time to make a full rope scarf, which is a similar sort of idea, but a bit more involved (I can't give away all of my tricks, now can I ;) ). 

Here's what you need:

3x 14ft lengths of bulky wool (or any reasonably thick yarn)

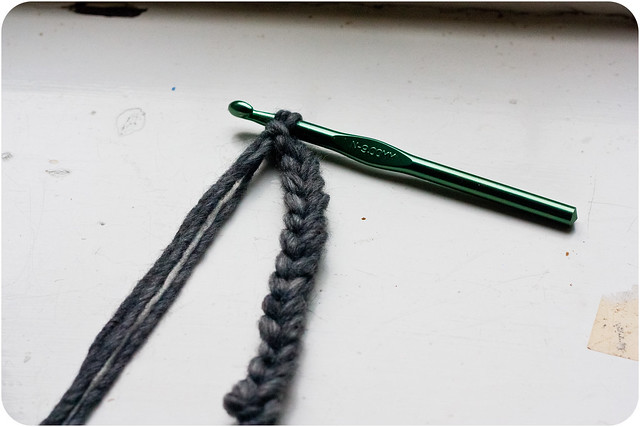
9mm/ Size 13 Crochet Hook

(Crocheters, this is just a thick length of chain. Instructions below are for non-crocheters)

Instructions:

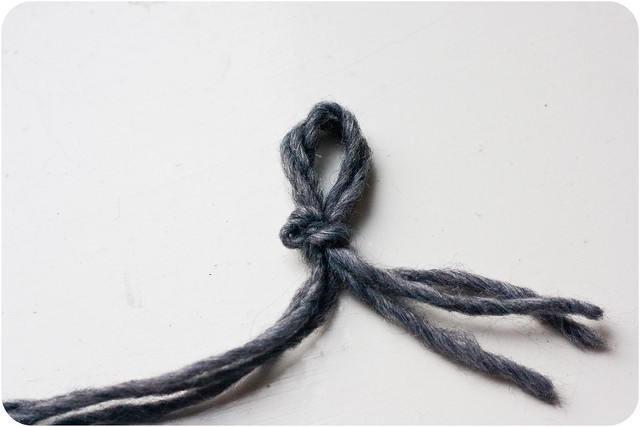
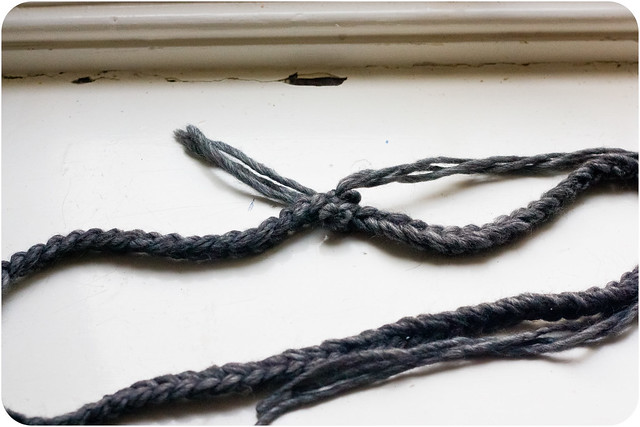
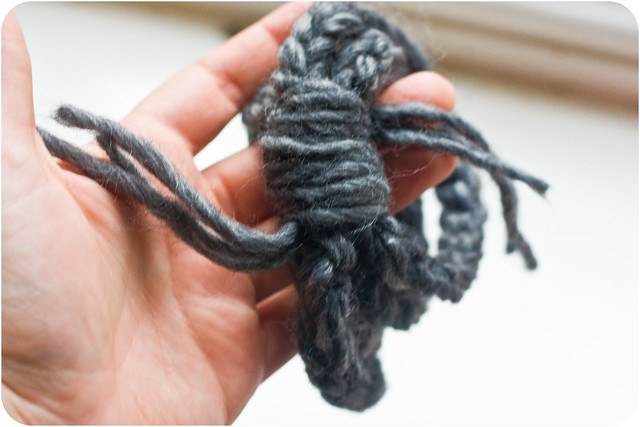
Holding the 3 ends of yarn together, tie a slip knot. Leave at least a 4inch tail after the knot.

IMG_9635.jpg

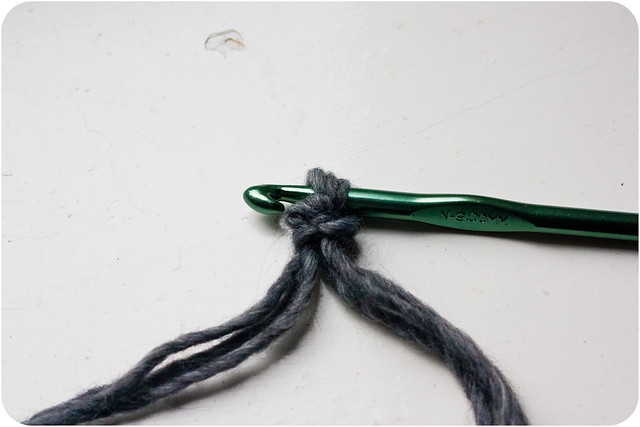
Insert your hook into the loop and pull tight.

IMG_9636.jpg

Put your yarn over the hook.

IMG_9639.jpg
IMG_9640.jpg

And pull it through

Repeat the 2 previous steps until your rope measures 40 inches in length

IMG_9641.jpg

You should be left with a reasonably lengthy tail of yarn at the working end of the chain.  Pull this through your last loop. Ensuring your rope isn't twisted, tie the ends together using a normal knot

IMG_9644.jpg

Loop the rope around your wrist.  It should be loose and go around 4 times for an average size wrist.

IMG_9645.jpg

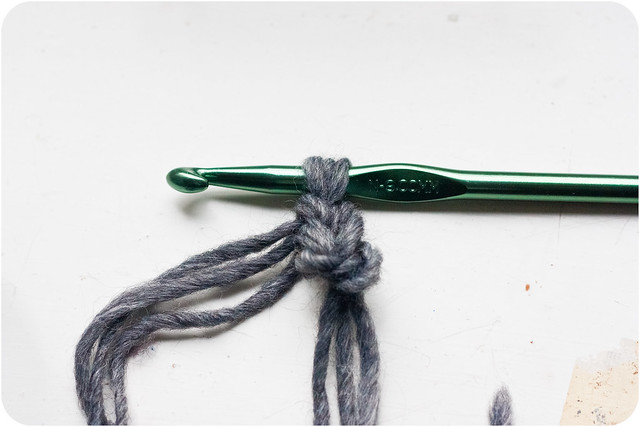
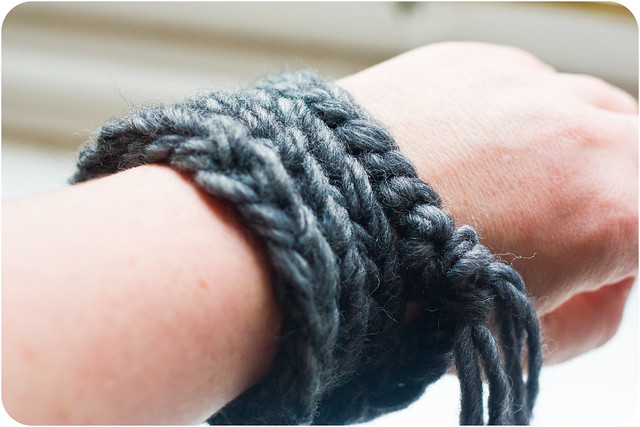
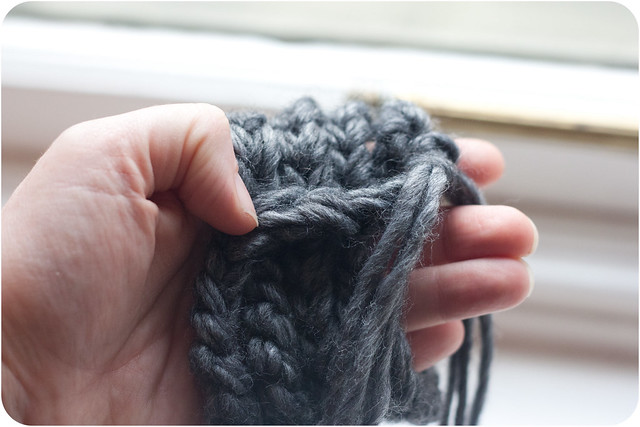
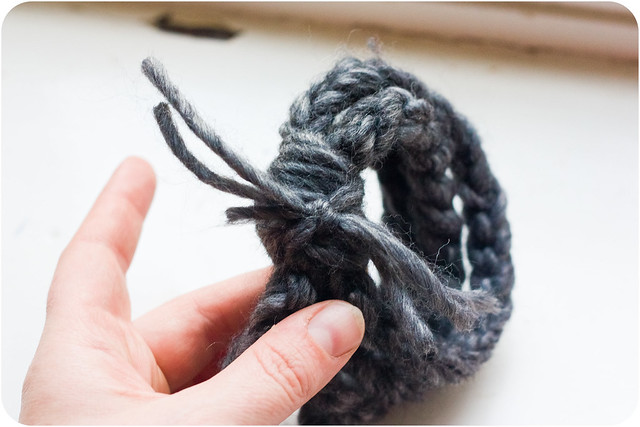
Slip the bracelet off and hold in your non-dominant hand, holding the strand of rope that goes across the project firmly.

IMG_9647.jpg

Take the longer ends of yarn and start wrapping them tightly around all of the strands of rope.  Make sure your shorter tail is hanging out the bottom.

IMG_9648.jpg

Tie the two ends off in a knot.

IMG_9650.jpg

Stick your hook through the wrap and hook the loose ends, pulling them through into the wrap.  Hide the ends in the wrap, trim if necessary, but not too short.

IMG_9651.jpg

It should all be neat and tidy.

IMG_9653.jpg
IMG_9658.jpg

Unlike my bedroom floor.

IMG_9665.jpg

I did say I was supposed to be cleaning the house.

Previous
Previous

Soup for Sol

Next
Next

Instead, Today...